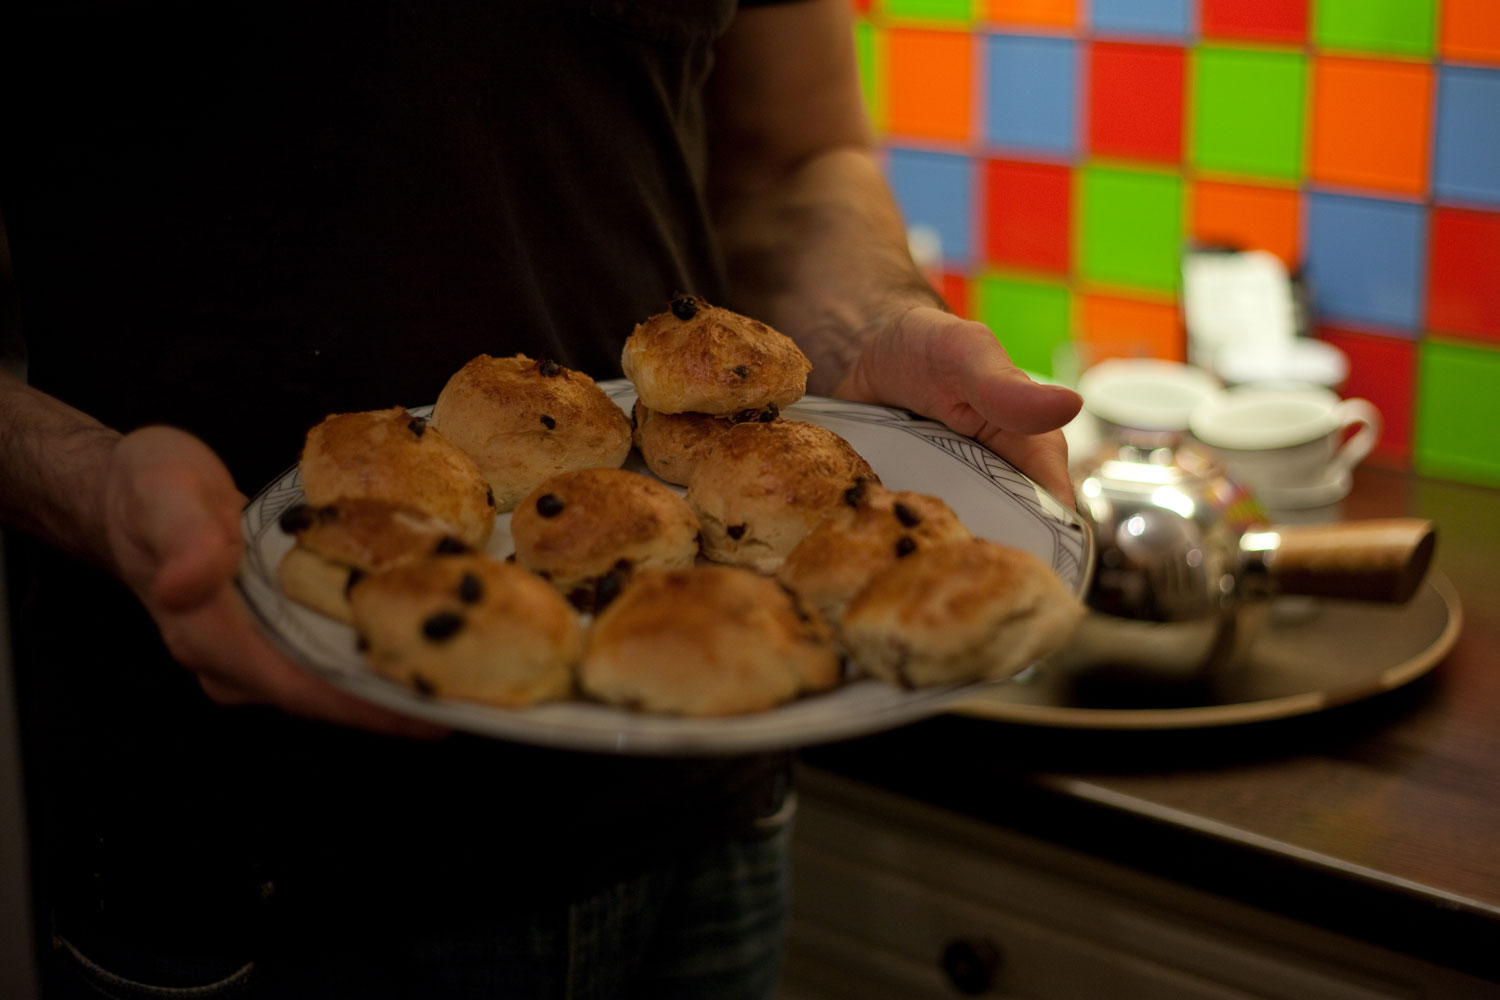
Go figure, I've had an epiphany to make a King cake on the day of Ephiphany! In France one can find a galette des rois before the first Sunday in the new year comes around. Bakeries are cashing in on this lovely, flaky, delectable dessert in anticipation of Epiphany, on January 6th. I decided to spare some euros this year and make one myself, much motivated by the fact that my then four-year-old son came home with the recipe from his teacher at school. If she can do it with a class of twenty-four four-year-olds, I can certainly manage one with my two kiddies.
In the French tradition, a fève (a bean) is placed in the galette des rois. Nowadays it's replaced by tiny figurines of some historical, religious representation or some beautiful collectible designy things. Umm—I think this would be a choking hazard in the U.S.? Anyhow, the fun bit is that the youngest child in the group you are sharing this galette des rois with goes under the table and shouts out the names of whom the pieces of cake should be distributed to. The lucky one who gets the fève in their piece of cake is then king for the day and gets to wear the crown and choose his queen. Otherwise, as my daughter would say— queen for the day and then choosing her king.
We made our own crowns to go with this king cake but golden crowns (sort of similar to slimmer versions of the Burger King ones but without its logo) are given along with the cakes that you buy at the bakery and even the ones sold in the supermarket. Here's a fun fact, apparently the Elysée Palace, the official residence of the President of the French Republic is not served a galette des rois with a fève in it due to rules of etiquette. I suppose just in case he doesn't draw the king?
La Galette Des Rois
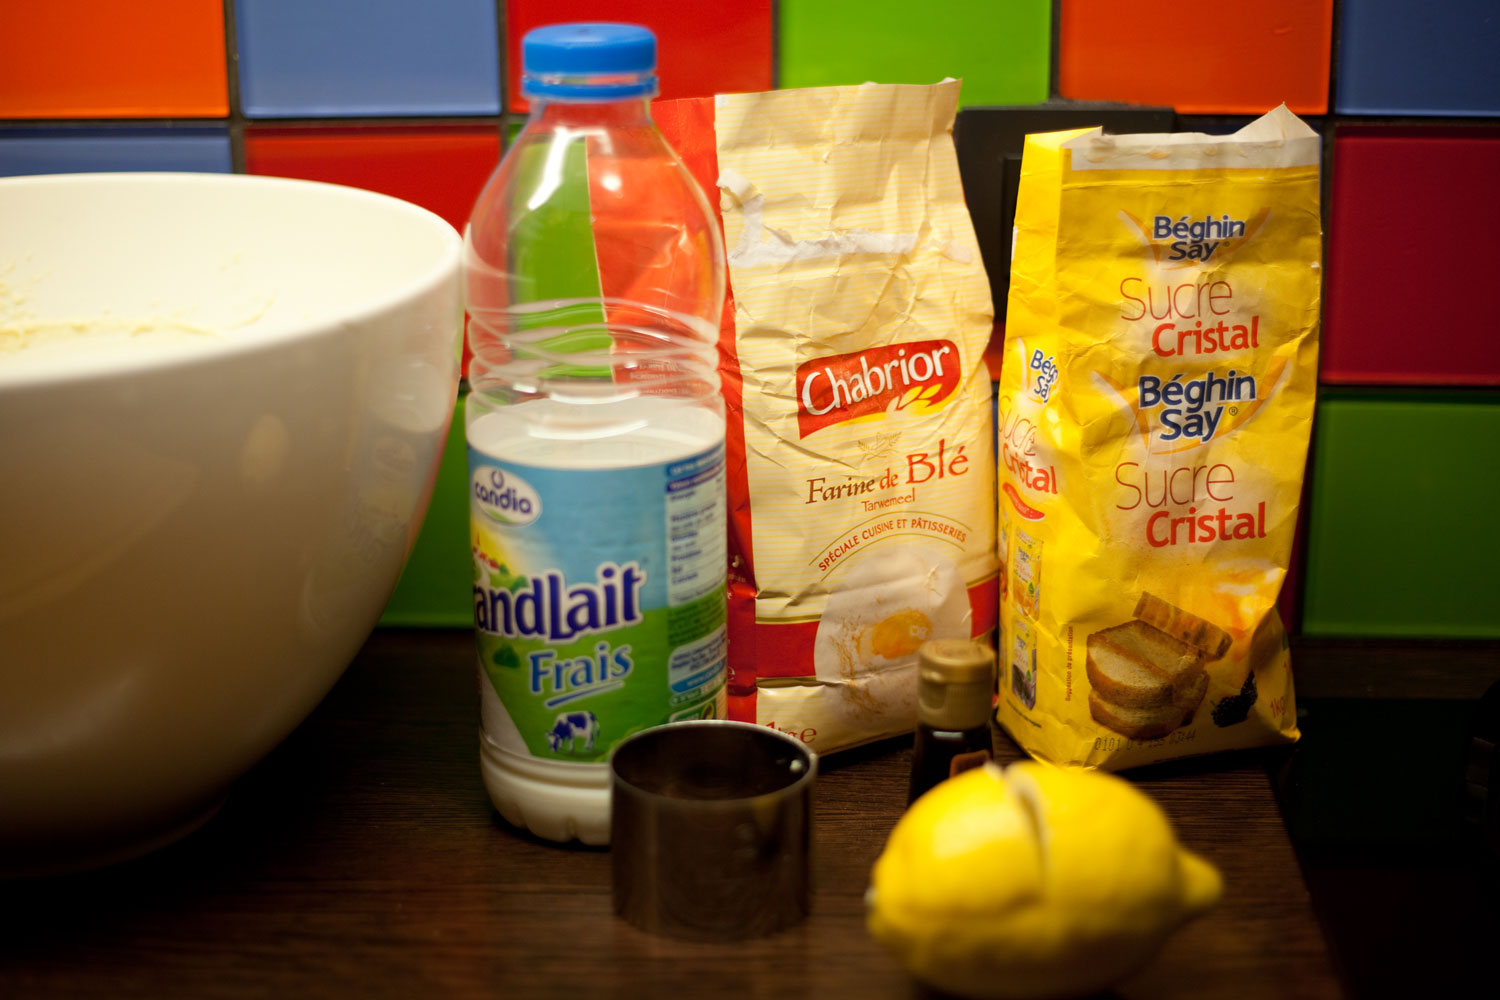
INGREDIENTS//serves 6
• 2 puff pastry
• 100 grams butter, softened
• 100 grams sugar
• 4 large eggs, divided (for egg wash)
• 100 grams of almond flour (ground almond usually made from blanched almonds without skin)
Egg Wash
• 1 egg, yolk
• 1 egg, whole
• 1 tablespoon water
PREPARTION
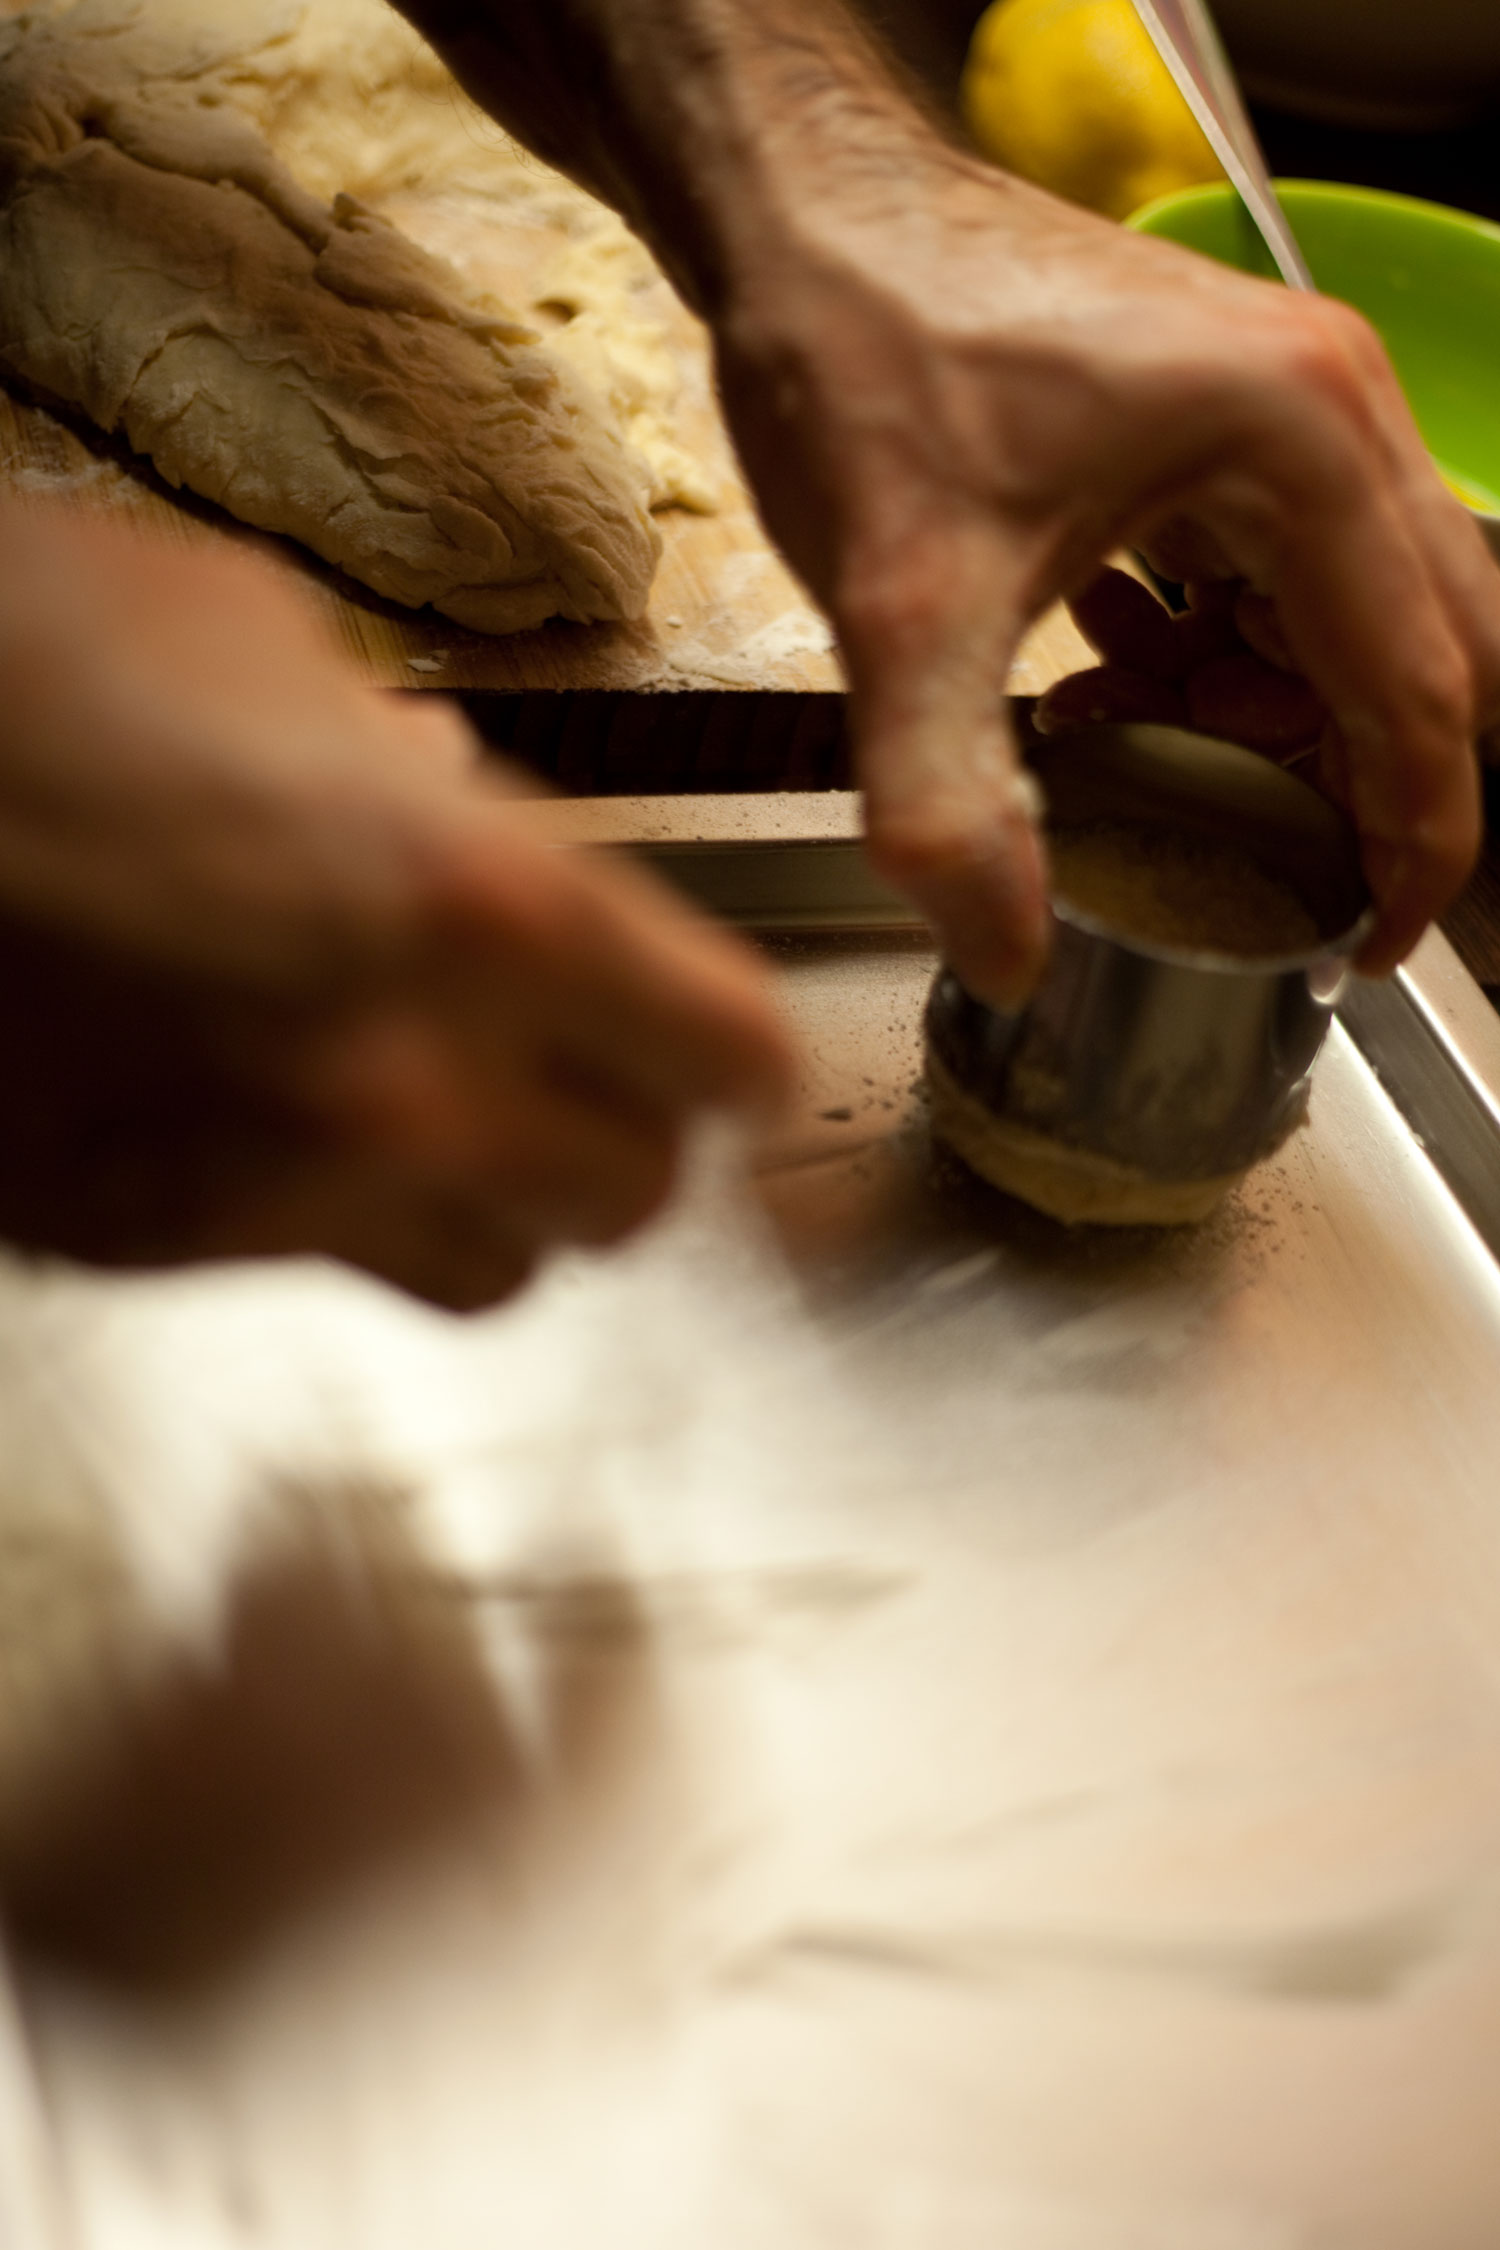
Cut each puff pastry to 24 cm ( approx. 9.5 inches) in diameter. Keep them refigerated until ready to use. Otherwise it gets soft and sticky and becomes hard to work with.
BAKE TIME
Total baking time is 1 hour. Starting off at 180°C (350°F) for 20 minutes, then lowering the temperature to 160°C (320°F) and baking for 20 minutes, and then at 145°C (290°) for the remainder of the time.
INSTRUCTIONS//serves 6
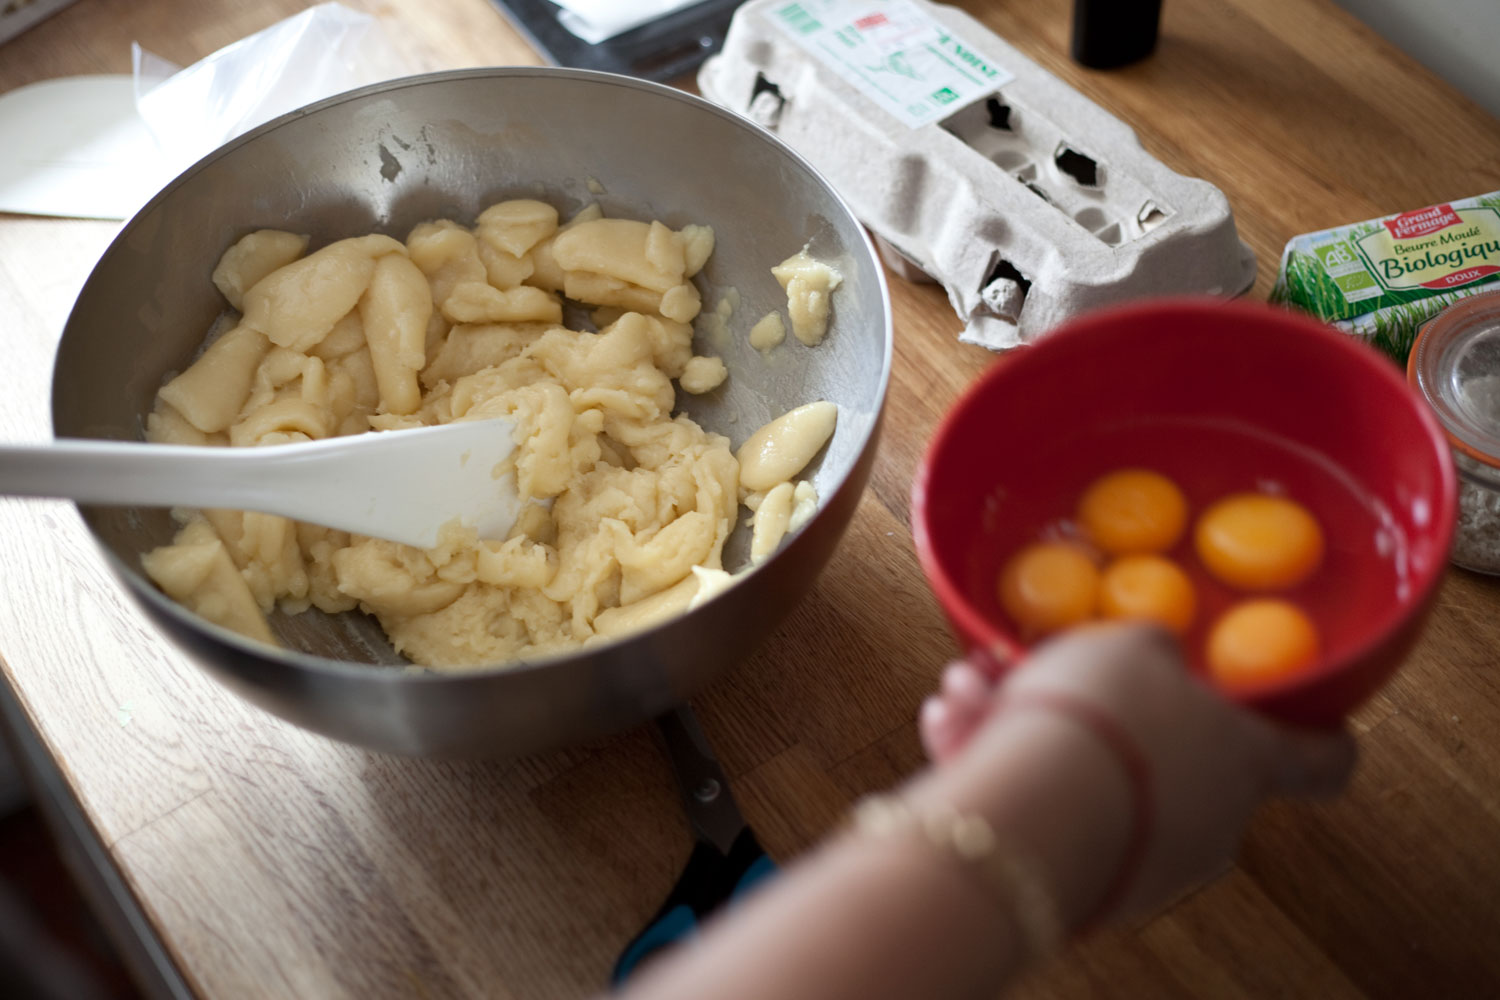
Filling: Cream the butter and the sugar together with a mixer or by hand using a whisk in a medium inox bowl. To do so, mix the butter until it looks whitish in color. Then add the sugar and mix well, working it into a smooth mass.
Add one whole egg, mix, and add half the almond flour. Then add the second whole egg. Continue to mix and add the rest of the almond meal. Then put it aside until ready to use.
Optional: You can use a pastry bag (piping bag) for your filling using a large round tip. Put it aside until ready to use.
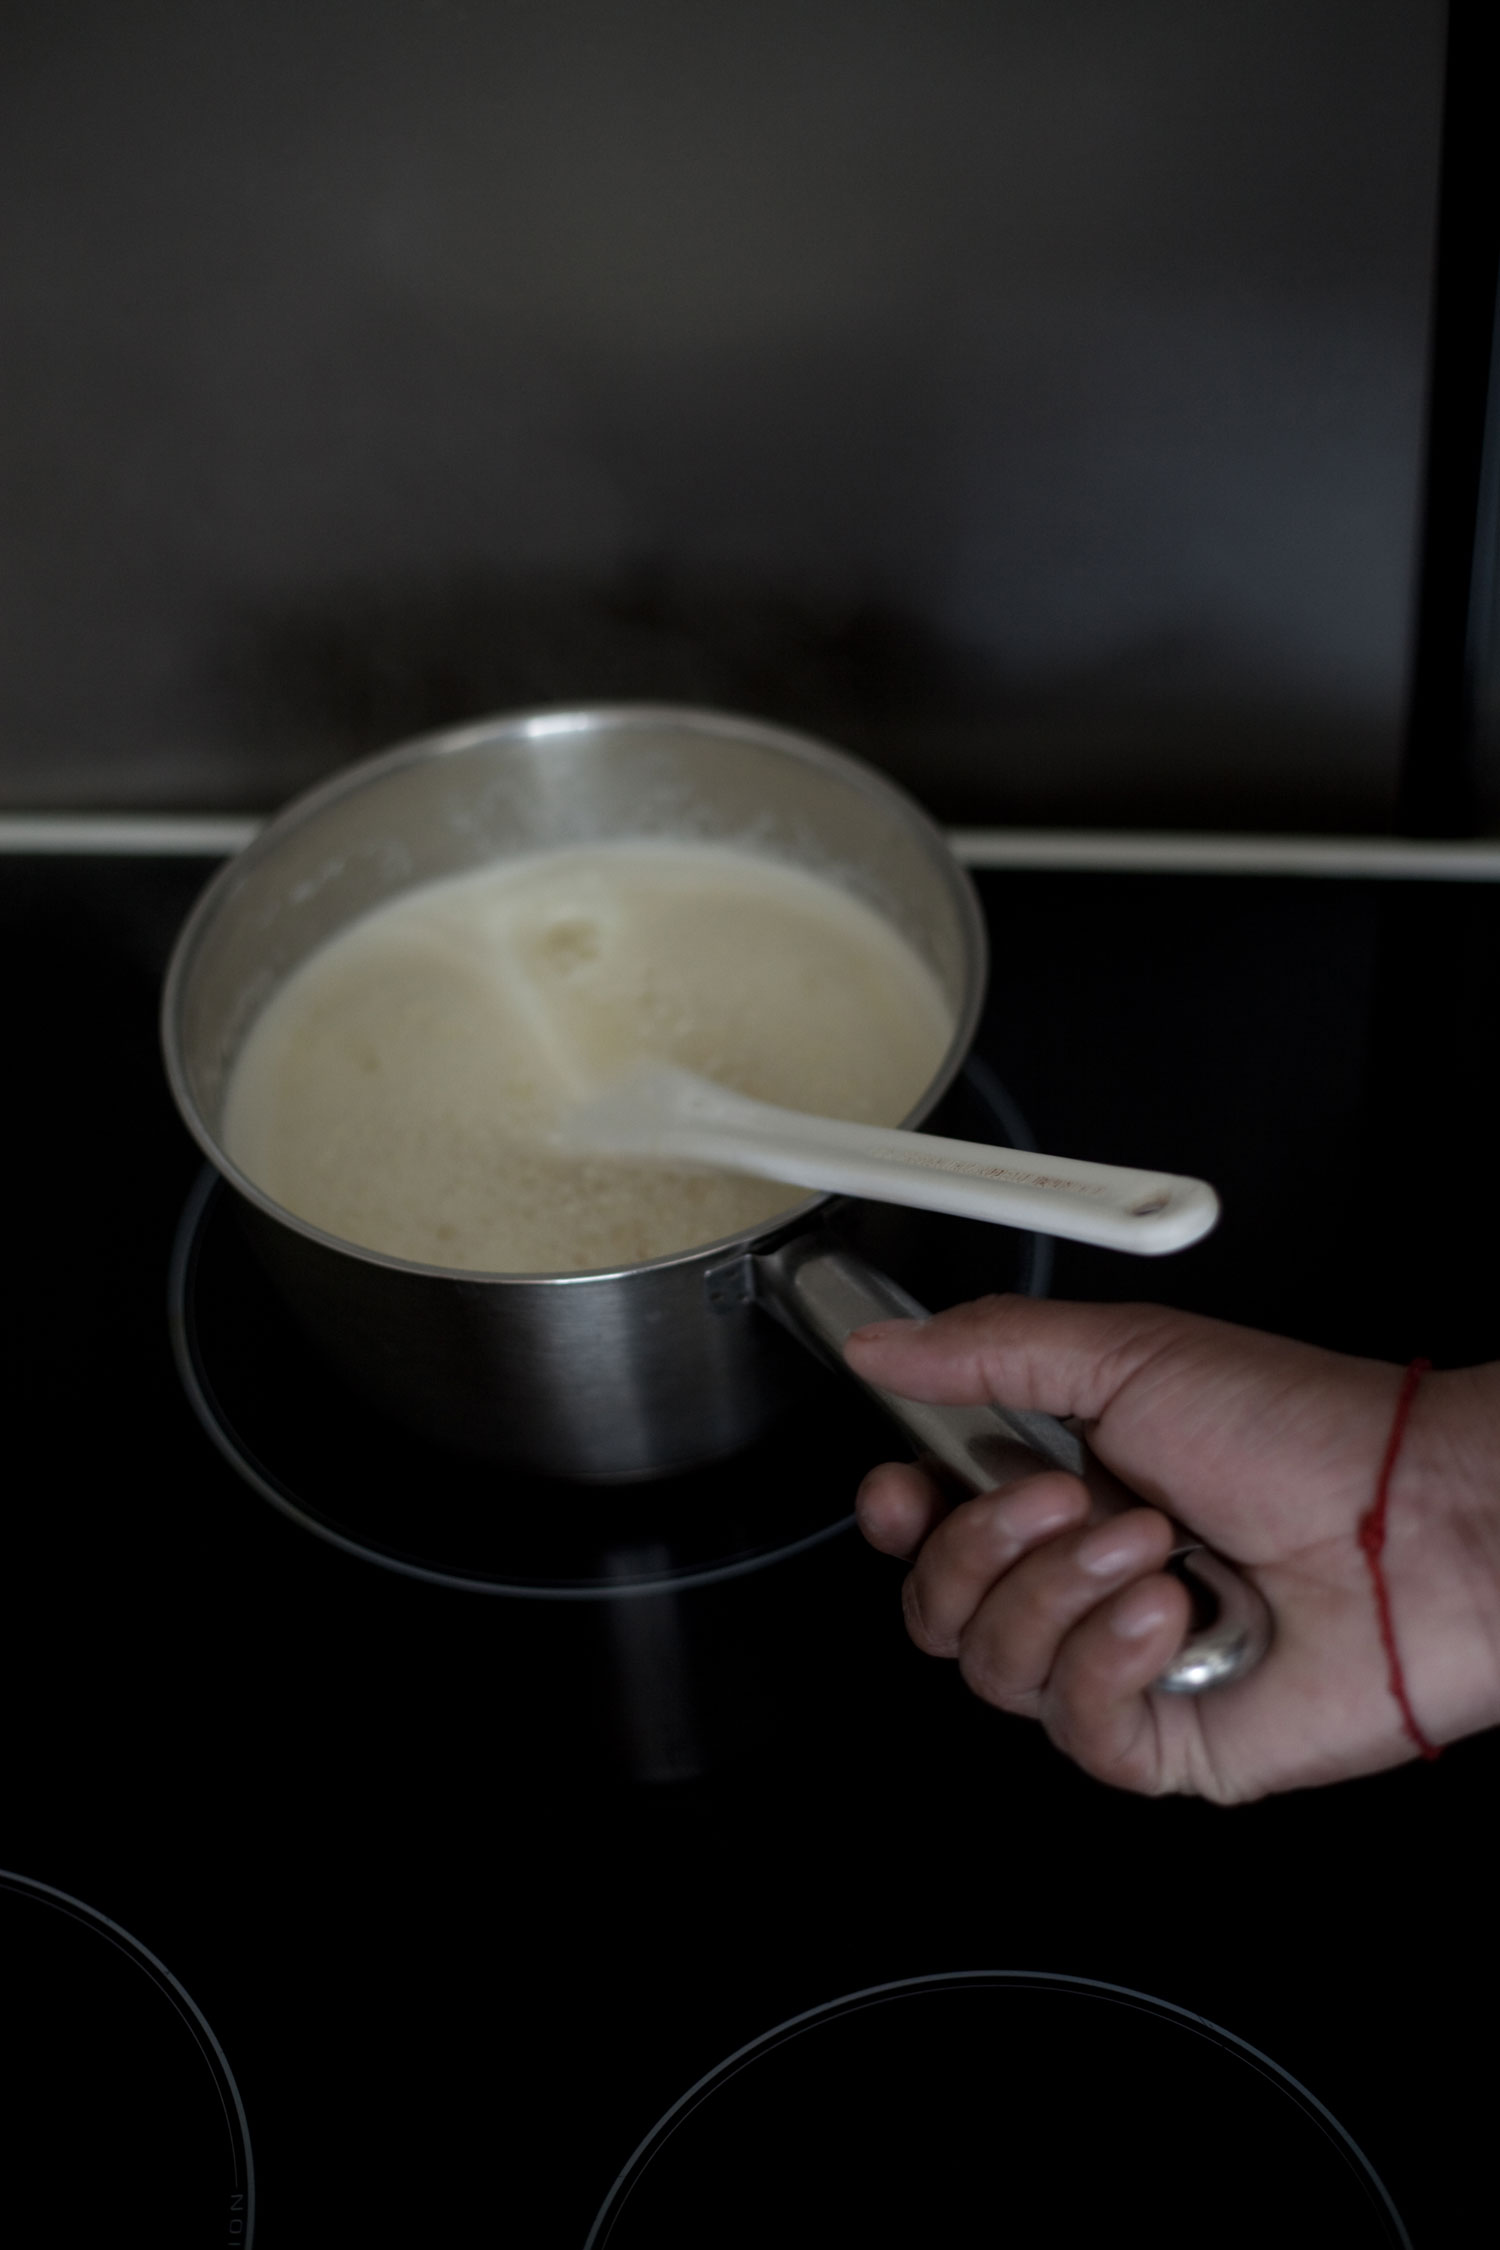
Egg Wash: In a small bowl mix one egg yolk and one whole egg together. Add a tablespoon of water and mix. Set aside until ready to use.
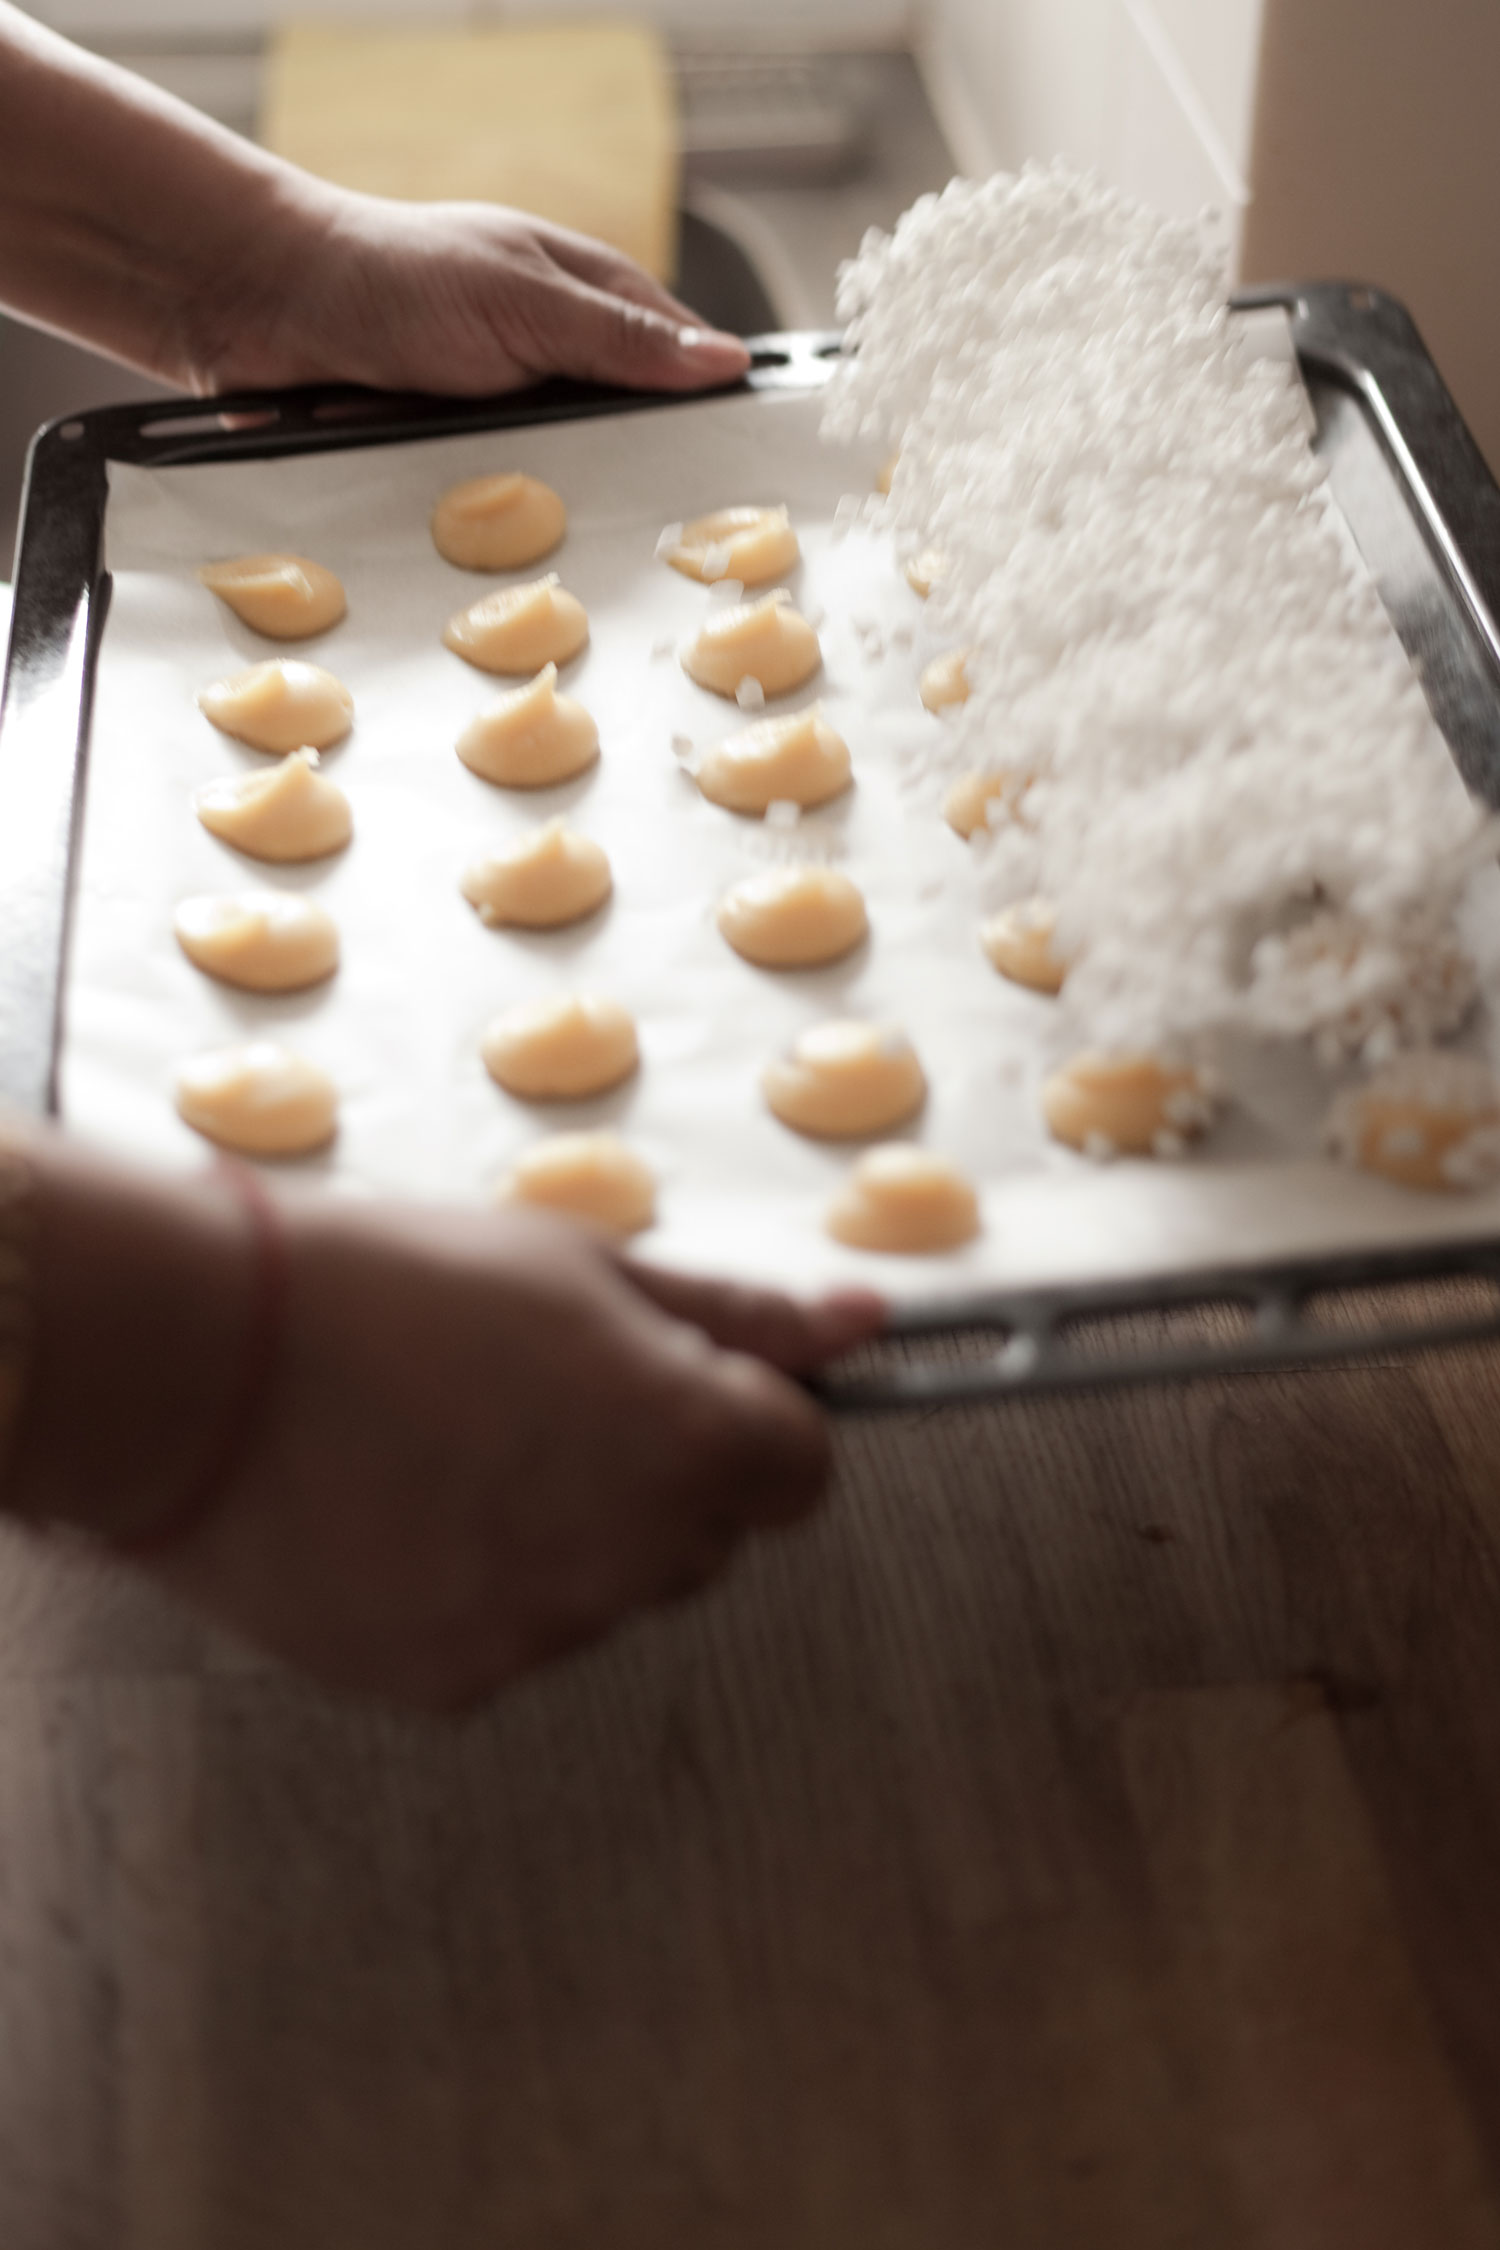
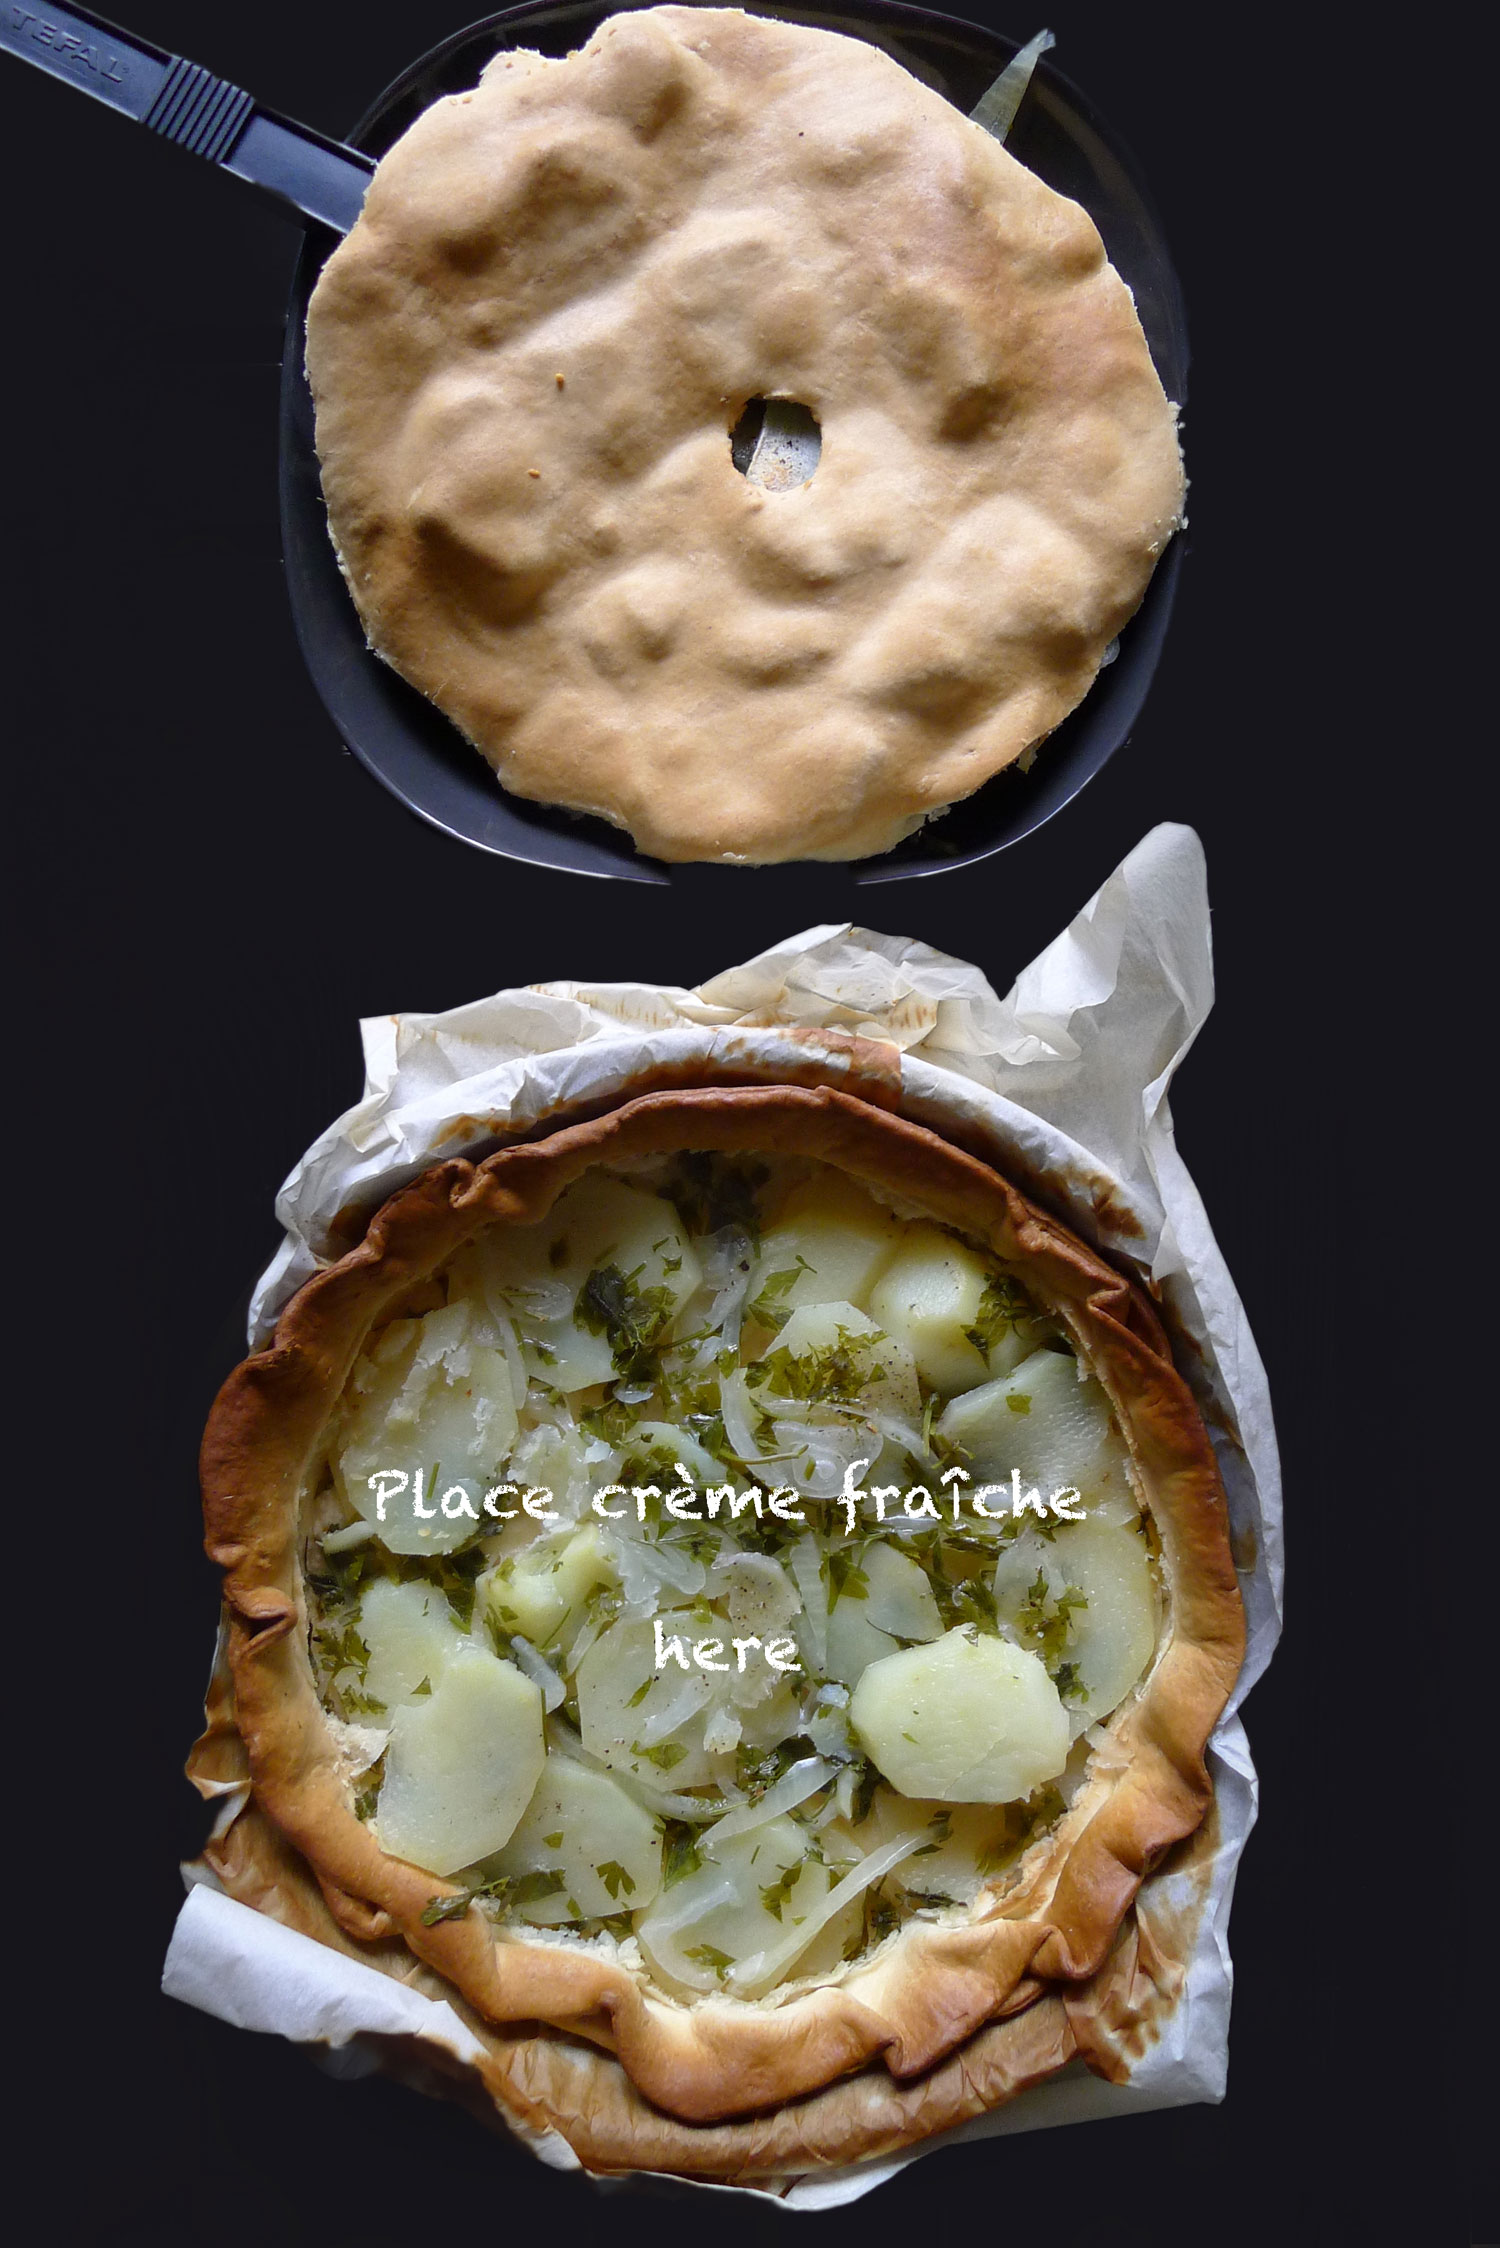
Take out one of the refigerated puff pastry and and lay it out on a silicone baking sheet or parchment paper. Fill it in with the almond filling either using the pastry bag or just a spoon to spread it out. If you are using the pastry bag, hold it up horizontally and squeeze out your filling starting in the center moving in a clockwise direction reaching about 2 cm (approx. 1 inch) before the edge. If you are using a spoon, scoop the filling and spread it evenly around the puff pastry leaving the same 2 cm around the edge.
The French use a fève that is placed in the filling near the border. For those who are more safety conscious, you can use a piece of dried fruit in place of the fève.
Brush some water along the ring of the filling.
Take the second refigerated puff pastry out and place it directly over the filled puff pastry you are working with.
Press down, moving around the edge of the filling to seal it.
Lift up silicone baking sheet or parchment paper with the pastry on it and flip it over upside down to another baking sheet.
Take the sharp tip of a knife, holding it horizontilly, tap into the edges around the pastry. This helps to seal the puff pastry together.
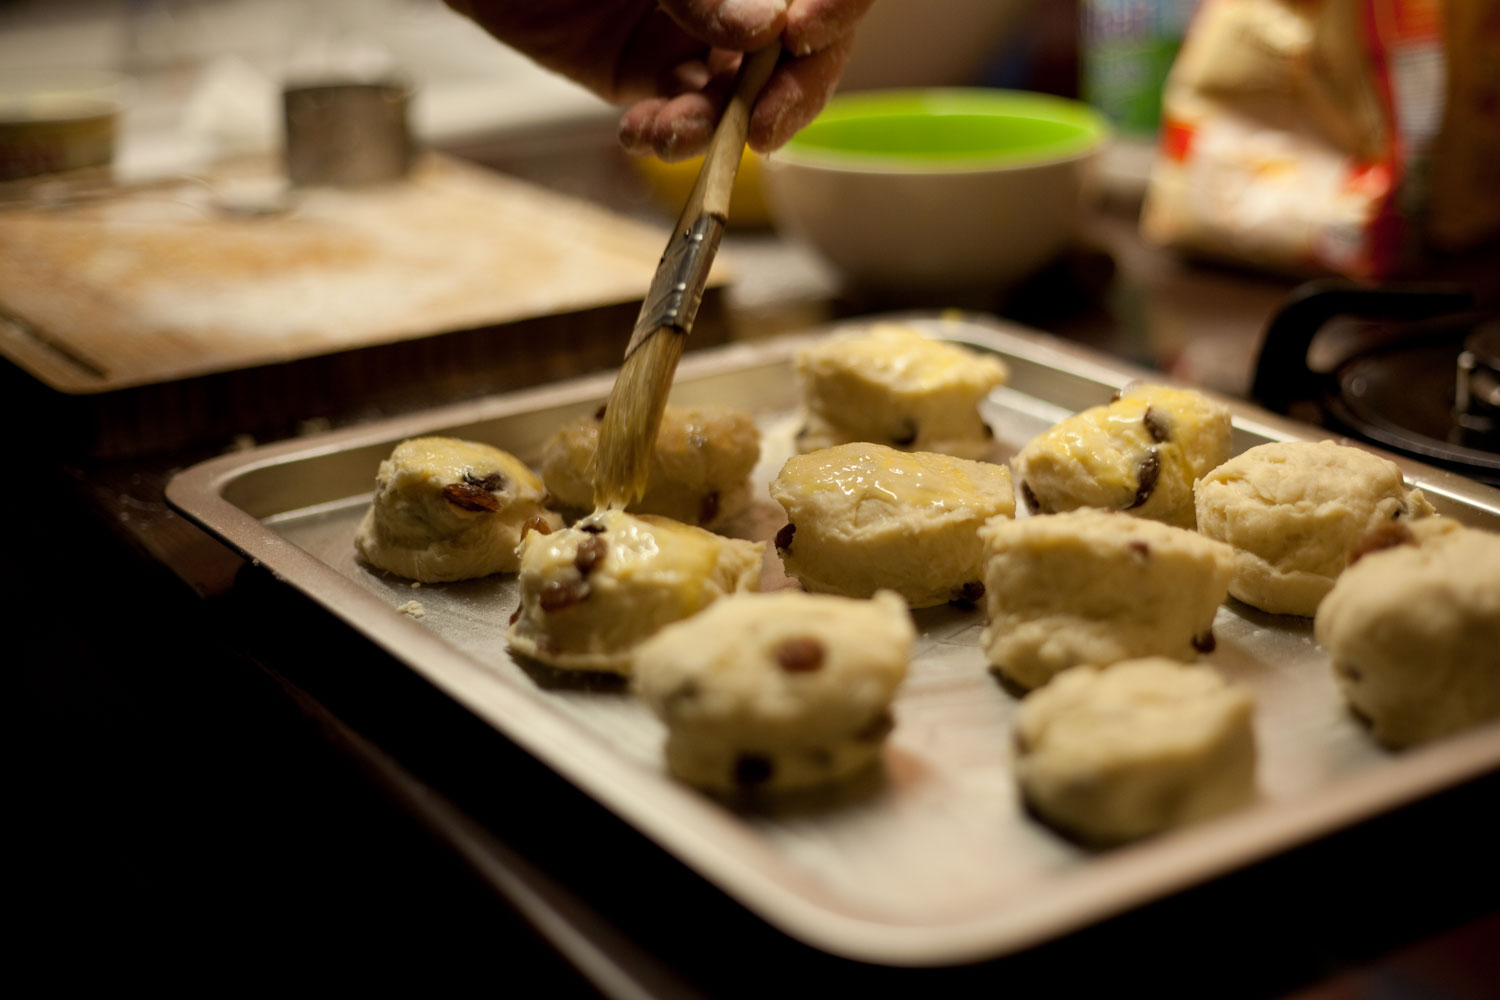
Brush a layer of egg wash over the top and then refigerate for 20 minutes. Take it out and then give it a second brushing of egg wash. Then use the tip of a paring knife to carve gently into the puff pastry to decorate.
Poke holes using the paring knife all around the top of the pastry avoiding the center before placing in the oven to bake. Remember to start off at 180°C and continue to bake down to 145°C as noted above.
Optional: You can glaze your baked cake with maple syrup or chestnut syrup to give it beautiful sheen.
NOTE
This recipe comes from Chef Nicolas Bernardé. You can watch him making it and maybe practice your French at the same time? For my egg wash I added some water to thin it out so that the glaze doesn't have too much of an eggy look on top of my cake. My baking time was only an hour. He states 1 hour 20 minutes. I also didn't put the finishing glaze on my baked king cake since I think the almond filling is sweet enough for my family. It also prevents those potential sticky little fingers from getting all over the place.