Homemade simplified gochujang.
I was making my Korean inspired dukbokki when I ran out of gochujang; a fermented, sweet, spicy, salty, and pasty Korean red chili sauce. I wasn't about to let that ruin my dinner. Throw me that curve ball and let's get that conundrum out of the way. Comparing the the back of the ingredients with a bit of research on the internet this simplified version turned out to be a quick fix to my evenings problem.
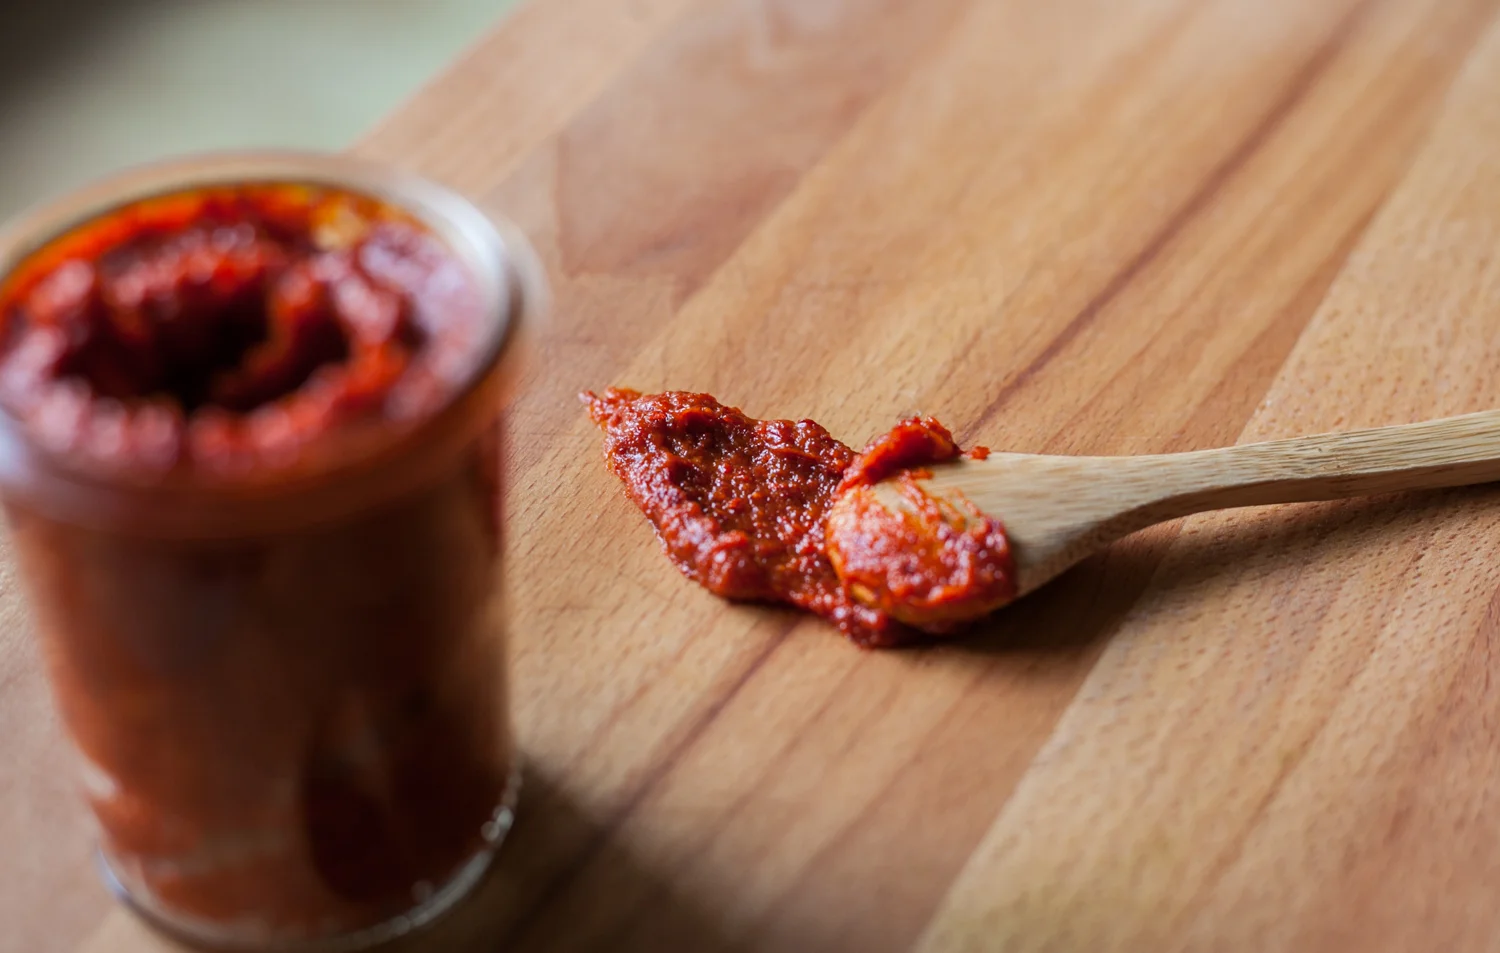
This is a minute made sauce opposed to traditional gochujang which goes through a long fermentation process.
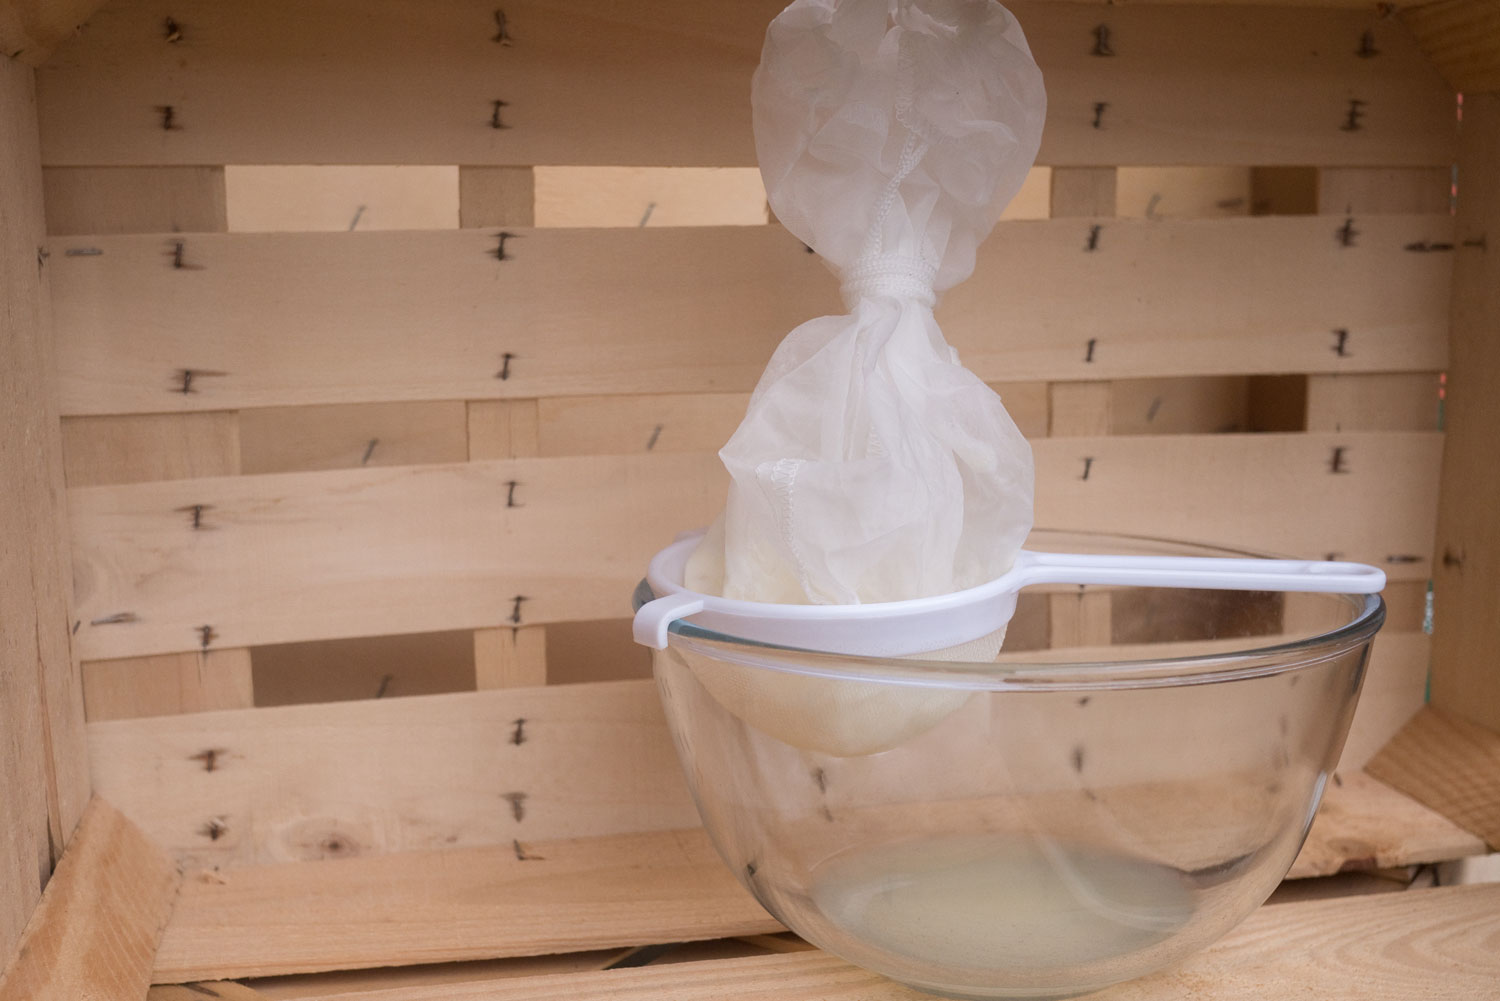
Homemade gochujang goes through a naturally fermented process over years in an earthenware. Nowadays most people just buy the pasty sauce in a plastic tub. Check the ingredients because they vary with each company that produces them. Most contain MSG and have other preservatives in them but I do see some artisanale gochujang on the market. If you really want to make traditional gochujang, here's a vid from an adorable Korean lady who shows us the real deal. Mind you, patience is required for the good stuff at the end, minimum three months!
Gochujang Sauce
INGREDIENTS//Yields 2/3 cup (160 ml jar)
• 100 grams white miso paste
• 1/4 cup Korean red pepper powder
• 2 tablespoons mirin
• 1/4 cup honey
• 2 cloves garlic
INSTRUCTIONS
Combine all the ingredients in a small blender or a food processor and whizz it all up.
You should have a paste-like texture.
Transfer to a jar for storage and seal it with a lid.
NOTE
I kept my small batch in the fridge for up to 2 weeks and it was fine. You can use this sauce to marinate tofu, meats, and fish. You can use it as a base for noodle soup, seafood and vegetable soups and stews.