Oh boy, it's hot in Paris. I call it cani-kill but most properly in French it's canicule which is a scorching heatwave. With temperatures reaching the high 30's (celsius) and even near the 50's for the poor bakers in the bakery, one has to remember to keep hydrated.
No air con here— this is living in France. Air conditioners are not commonplace in France, especially in Paris where the city codes don't allow us to blemish their beautiful historic building facades. So I sit in my bathing suit while writing this with beads of sweat dripping down the sides of my face, forming along the back of my nape, and rolling down my back and chest. We are on a heatwave alert, level orange.
Fortunately, Paris has plenty of municipal pools and fountains. Remember the scene from La Dolce Vita with Anita Ekberg wading into the Trevi Fountain—well, then you can imagine how lucky we are to be able to jump into the waters of our equally beautiful fountains in Paris and recreate that scene. They are open to the public and it's a fantastic way to keep cool.
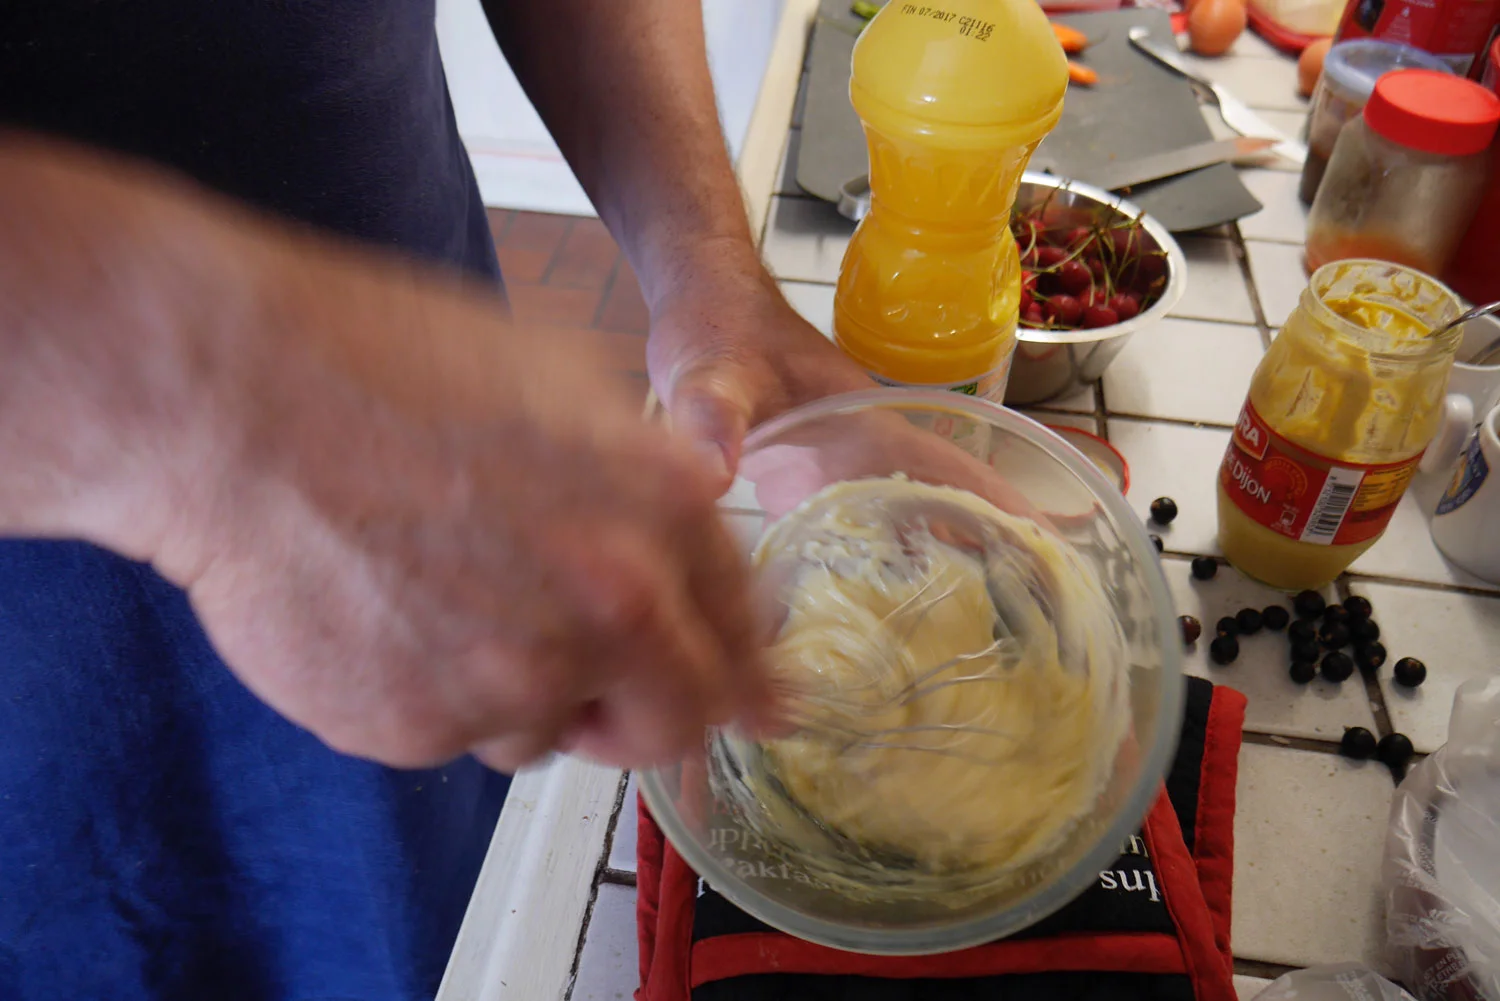
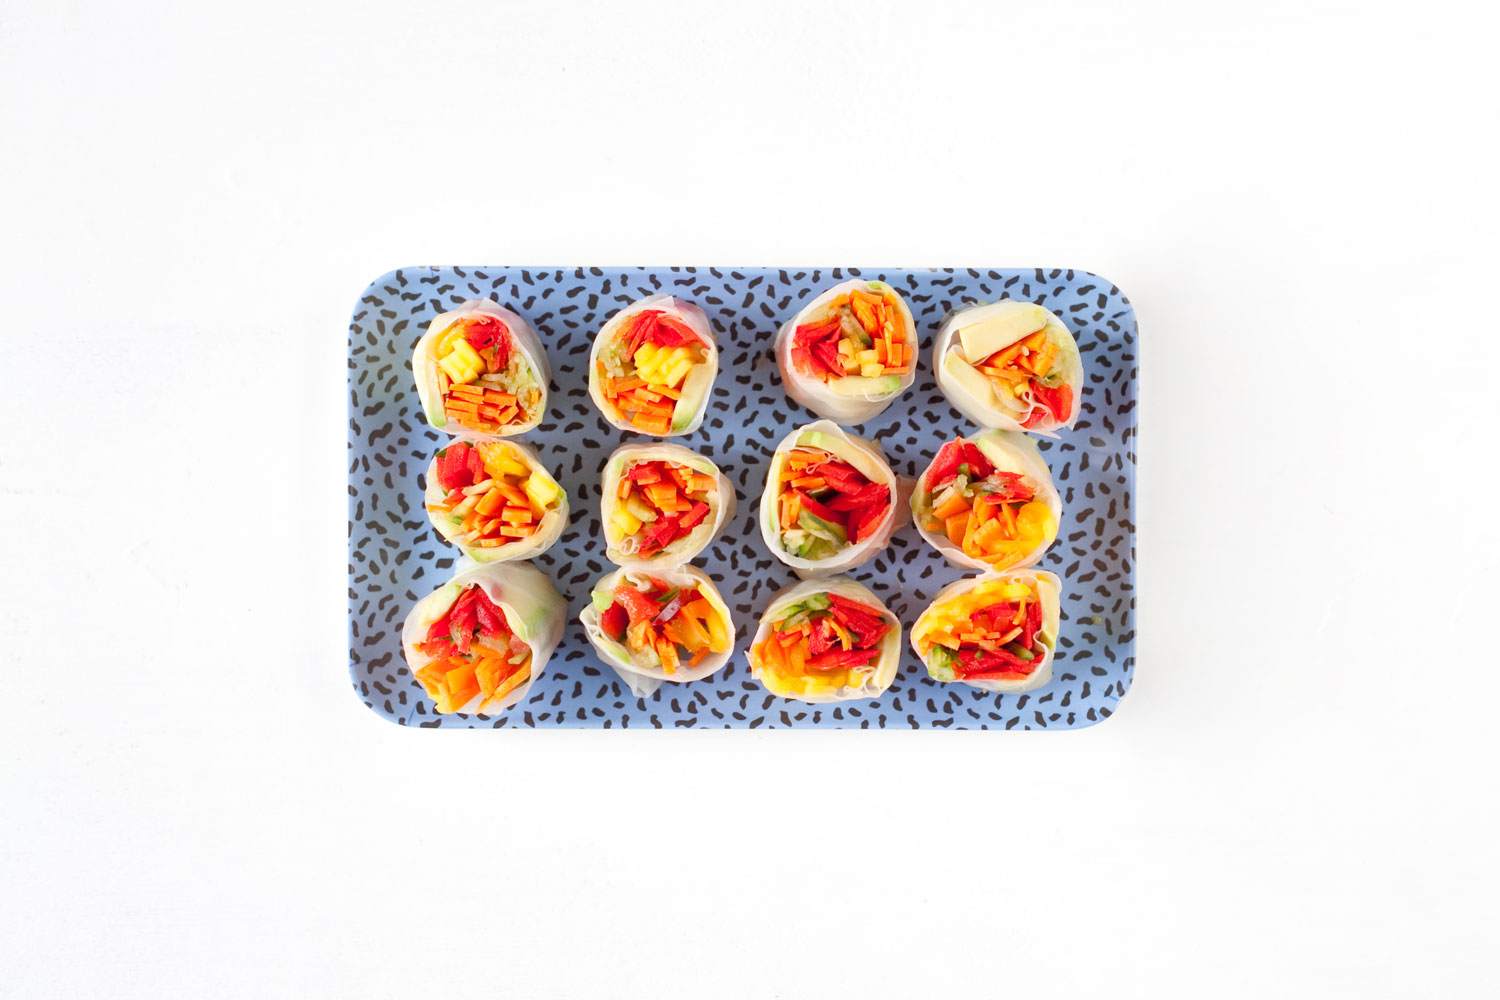
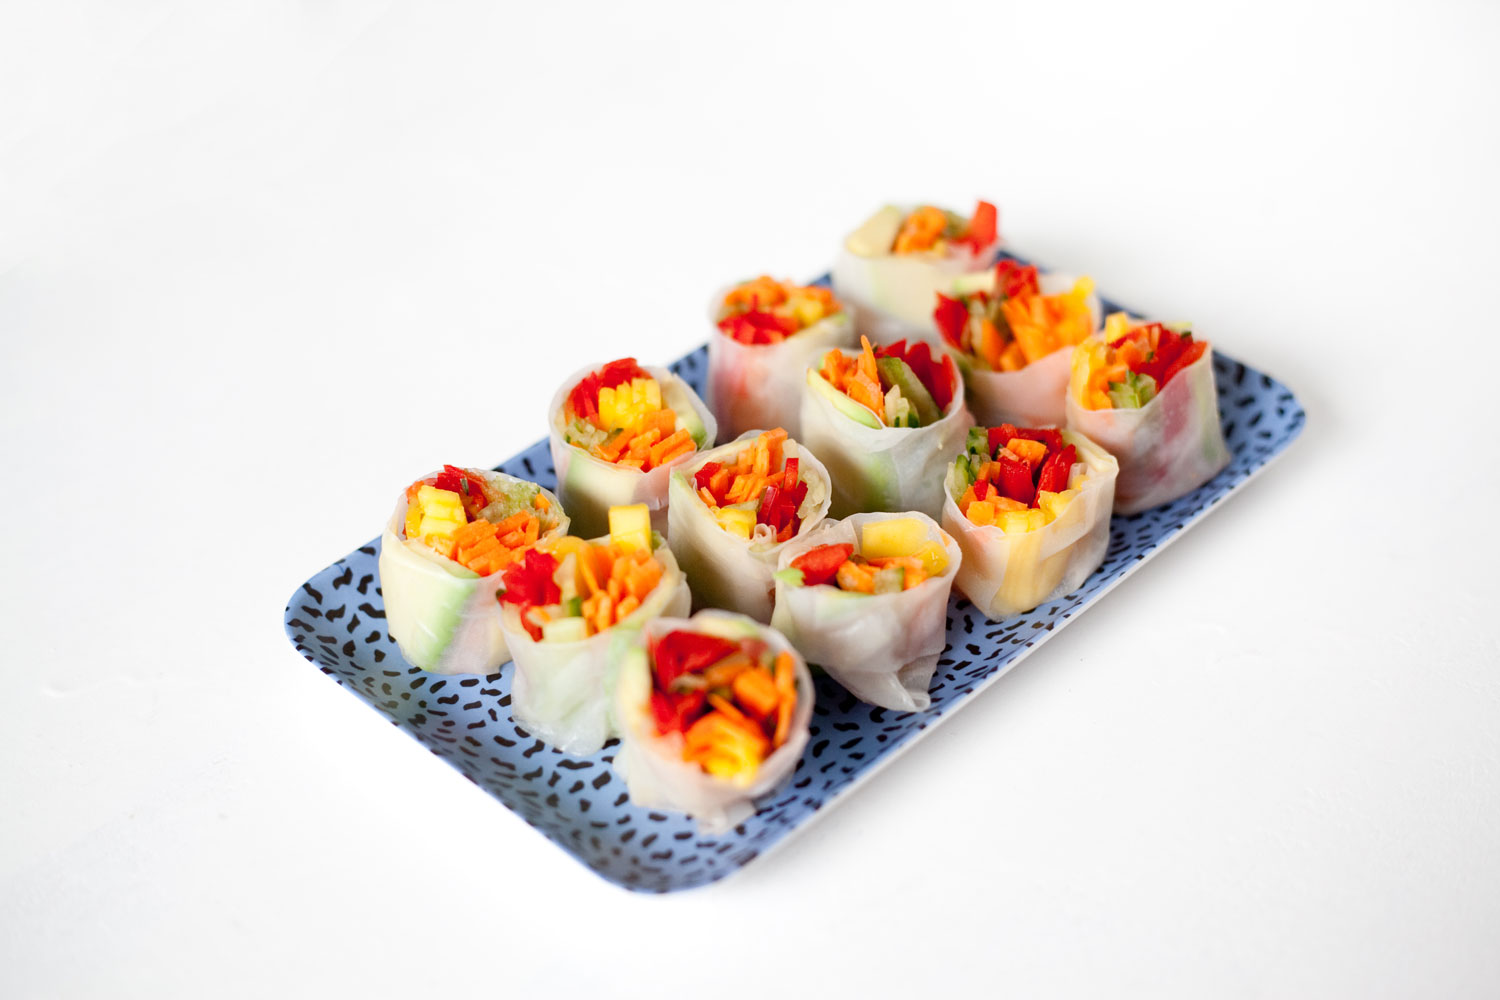
These days it's tough to muster up any energy to do anything, much less cook. I've got a super simple recipe for us today. Just chop, chop away these three crispy, hydrating and refreshing ingredients and voilà, the hard part is done. Otherwise just throw it all in a robot (food processor in French) and let it do the work!

So raw & crunchy...and so simply delicious. Stay cool.
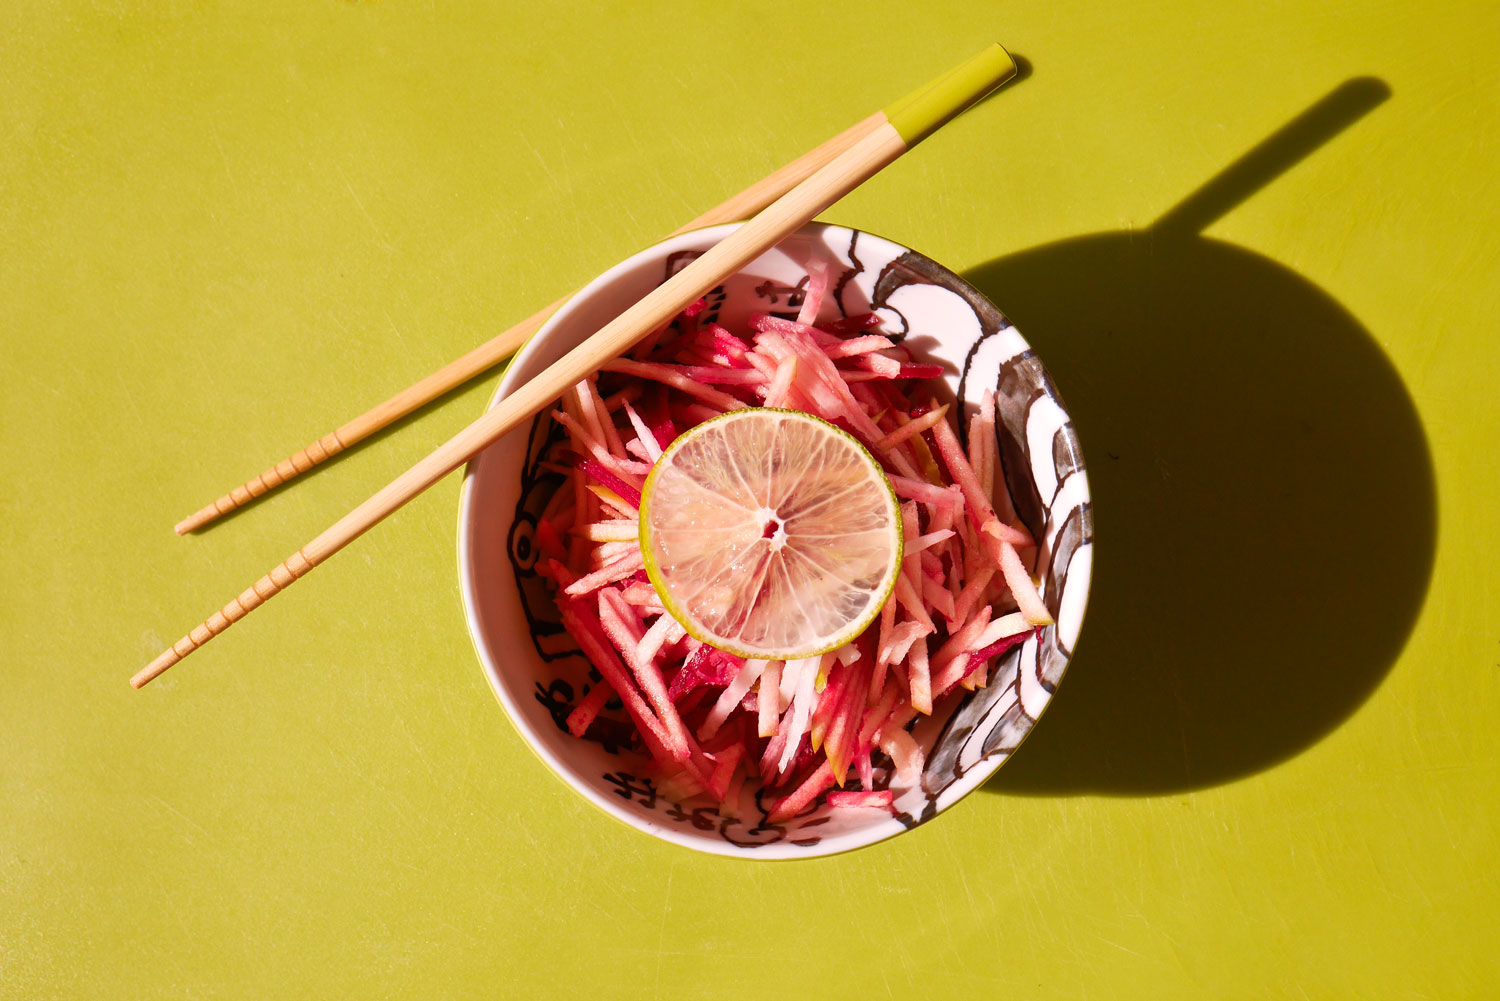
Kohlrabi Salad with Beetroot and Granny Smith Apple
INGREDIENTS//Serves 2-4
• 1 medium size kohlrabi, matchstick
• 1 small size beetroot, matchstick
• 1 granny smith apple, matchstick
• 1/2 lemon, juiced
• Salt and pepper, adjust accordingly
INSTRUCTIONS
Combine the matchstick size kohlrabi, beetroot, and Granny Smith apple in a bowl.
Squeeze some lemon, drizzle with olive oil, salt and pepper to taste.