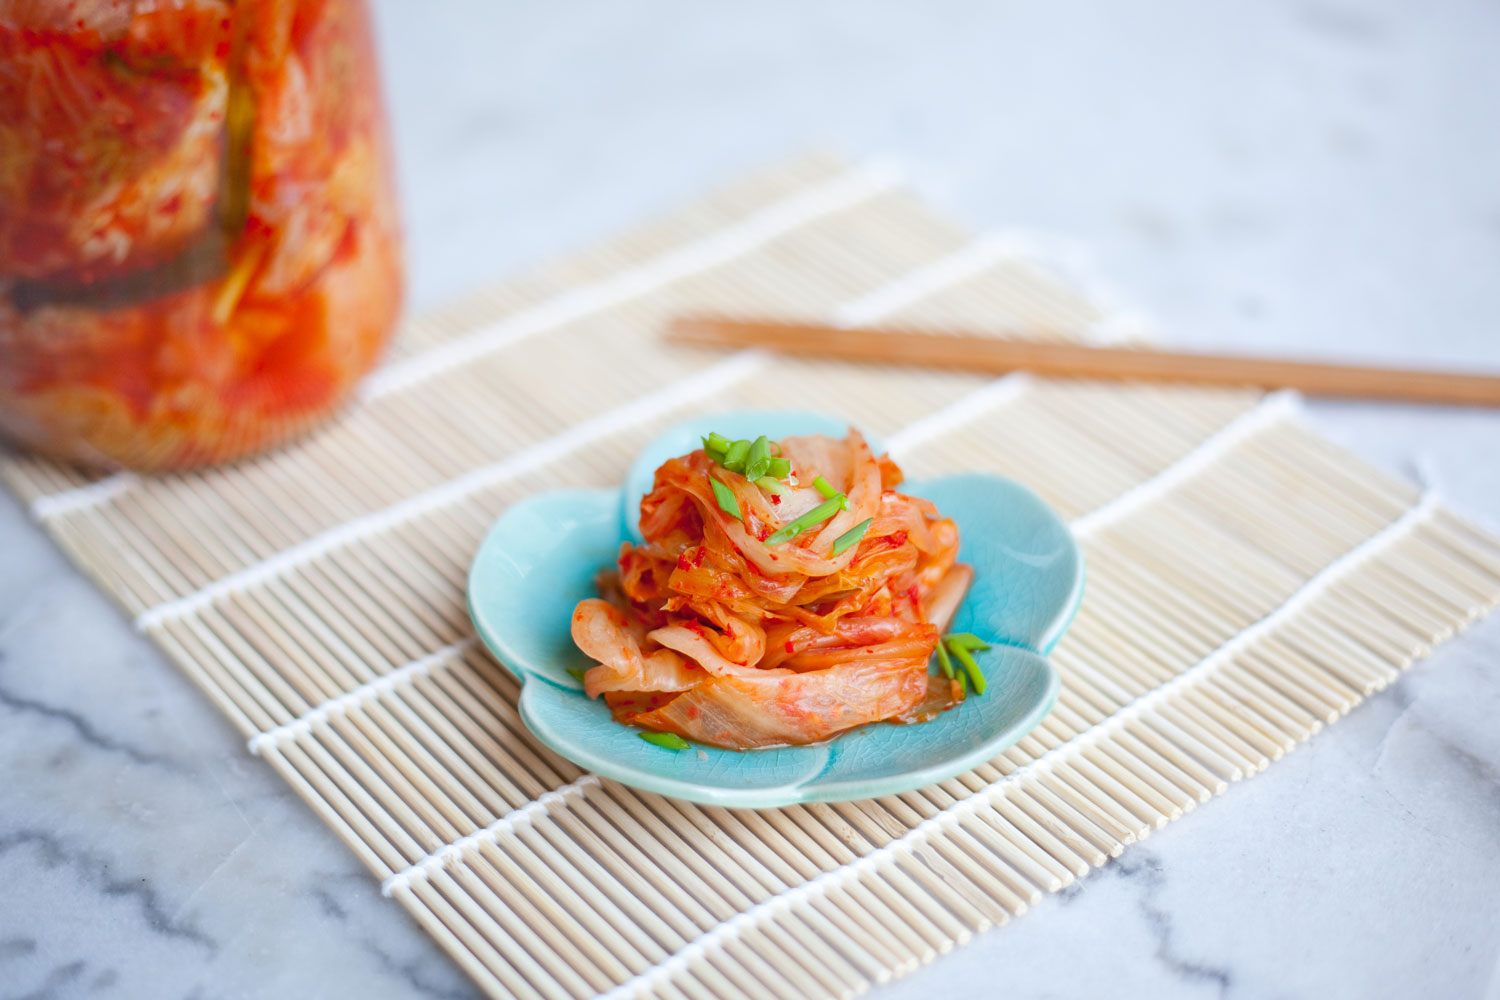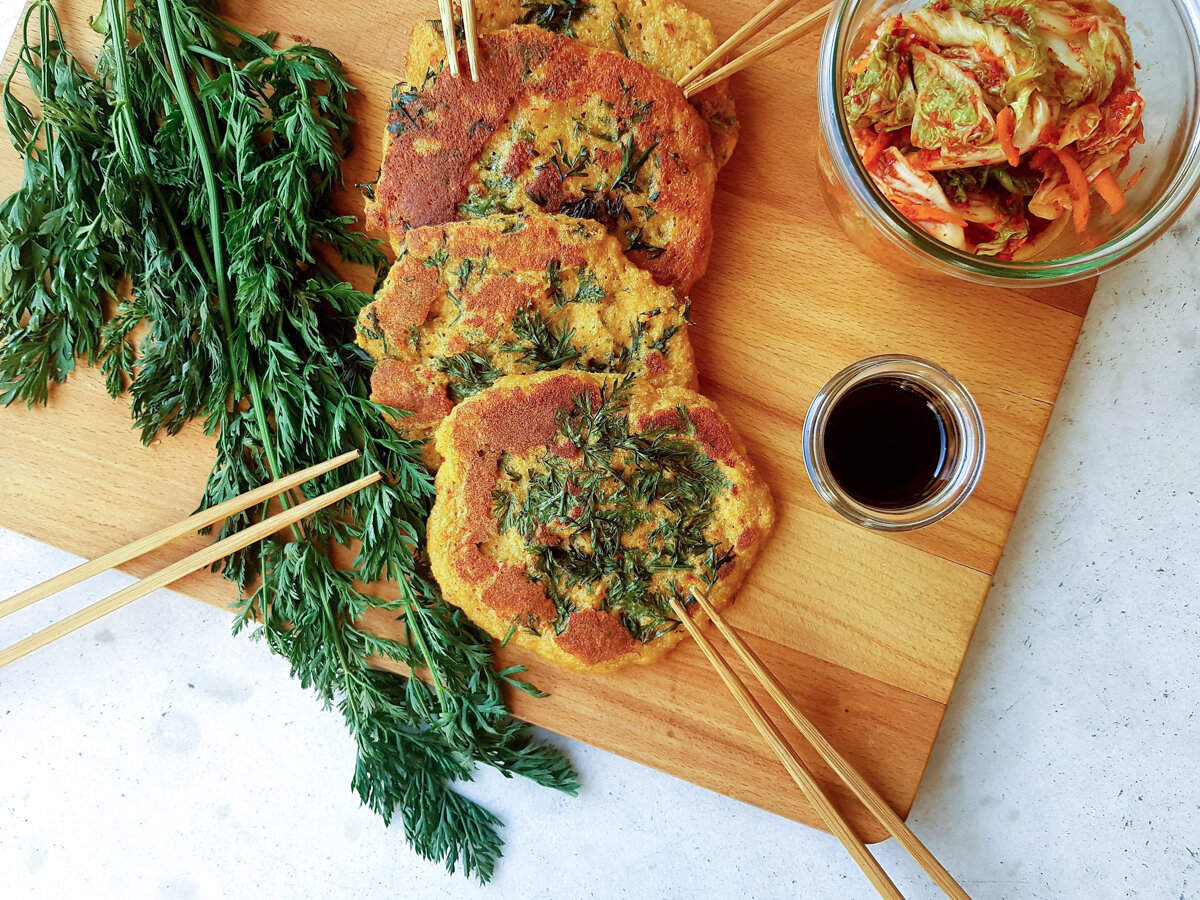
Mung bean pancakes with kinchi and fresh carrot tops.
The best thing about these Korean inspired pancakes is that you can use any leftovers you have in the fridge to create your personal favorite combination. These make for a hearty and nutritious breakfast for those with a savory palate but they are just as good any other time they are served.
For the omnivores out there you can add your meats, poultry, and seafood bits to this mung bean and glutinous rice batter too.

Mung bean pancakes with kinchi and fresh carrot tops.
The mung beans and the glutinous rice make up the starch in this combo so for those looking for a gluten free option this is a great recipe to add to your list!
Korean Mung Bean Pancakes
INGREDIENTS//Yields 12 pancakes
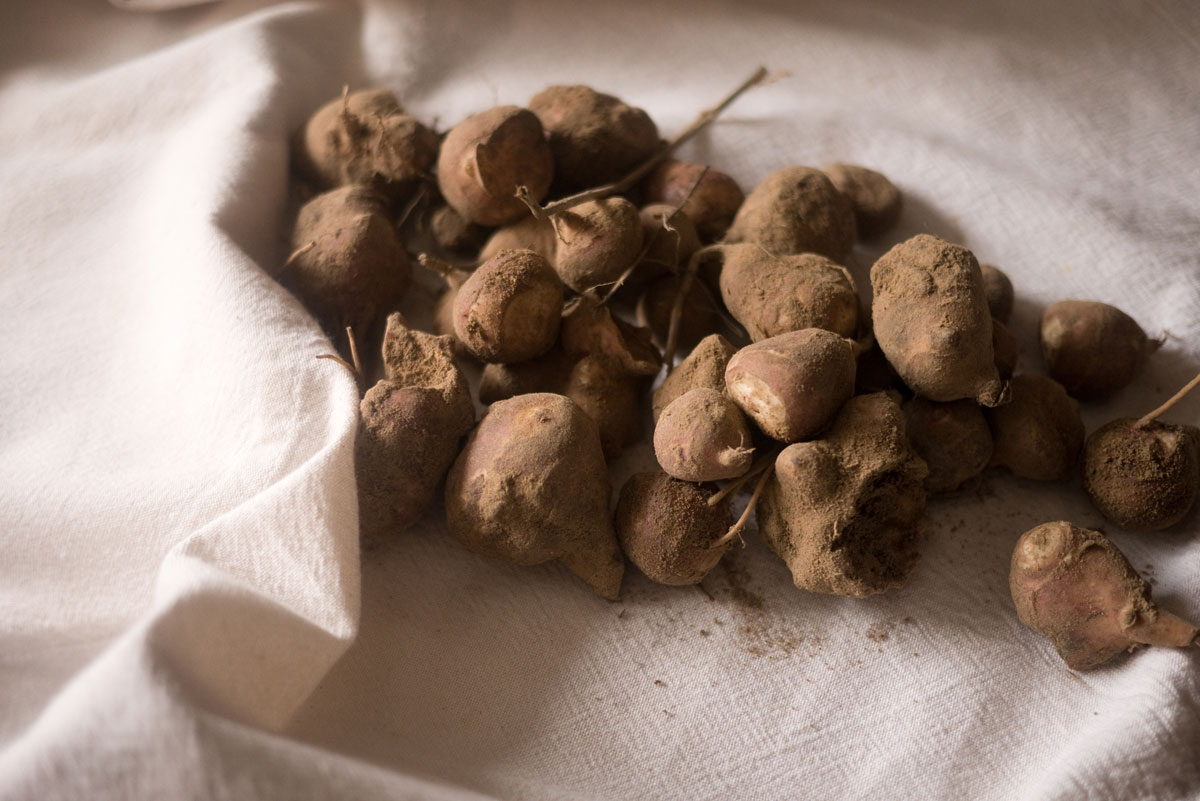
• 2 cups dried and peeled mung beans
• 1/4 cup glutinous rice
• 1 large free-range egg
• 1 cup kimchi or a combination of vegetables (mung bean sprouts, scallions, carrot tops, etc)
• 1 tablespoon sesame oil
• 1 teaspoon white pepper
• 1 clove garlic, minced
• 1 teaspoon salt
Preparation
The mung beans and glutinous rice needs to be soaked for at least a few hours (approx. 5-6 hrs)
Dip
• 3 tablespoons soy sauce or tamari (gluten-free option)
• 1 tablepoon black vinegar
• 1 teaspoon chili spice (optional)
INSTRUCTIONS
In a large bowl combine your mung beans and your glutinous rice. Rinse several times under cold water until the the water is not cloudy. Then cover with water and soak overnight or for the day.
Drain the bean and rice mixture and save a cup of its liquid on the side.
In a food processor or blender grind the bean and rice mixture together while adding some of the water that was saved on the side until the consistency is slightly creamy with a sand-like texture. Use as much water necessary to loosen the batter while grinding the mixture.
In another mixing bowl combine your vegetables of choice. I usually add any leftover kimchi which makes these pancakes very flavorful. I used some fresh carrot tops that I had on hand so I added that to the blend.
Add your egg, sesame oil, white pepper, and salt and stir the combination together.
Mix it in with your mung bean and glutinous rice batter.
In a large skillet, heat some vegetable oil over medium heat and spread it all over the pan.
Scoop a ladle full of your batter and drizzle it onto the skillet to make medium size pancakes. Depending on the size of your skillet you can make a few at a time.
Cook for about 2-3 minutes on each side or until each side is golden brown.
Serve with a soy sauce and black vinegar dip on the side.