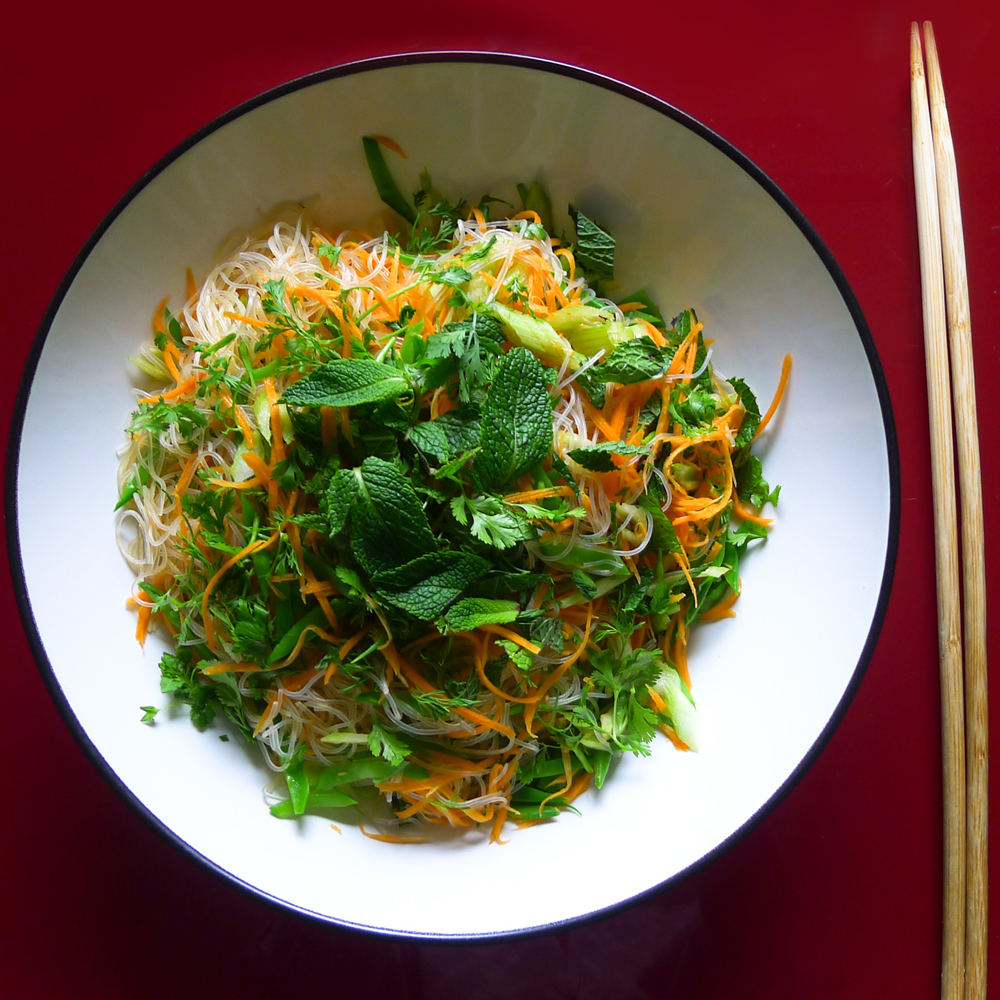
Green tea soba with seasonal vegetables and shredded nori.
Alas, summer is here. I wouldn't have guessed it, and neither would you if you had seen me recently walking around town with a light sweater, sleeveless-down vest and a scarf on—oh, and an umbrella to boot. It wasn't until I got into the elevator when my neighbor greeted me and reminded me that summer has arrived, and then it began to dawn on me.

Peppy and eager, even through the thick of rain and gray clouds—ahh, but summer is here—to share my summer lovin' soba noodle dish with my family and friends, I bought some green tea soba noodles (photos above) and the typical buckwheat noodles (photos below) to add some fun for the kids.

Soba Noodles with tofu strips
You can add your choice of vegetables and protein to make it your own perfect summer dish. Alas, the sun is shining—for summer is here.
いただきます!
Itadakimasu!
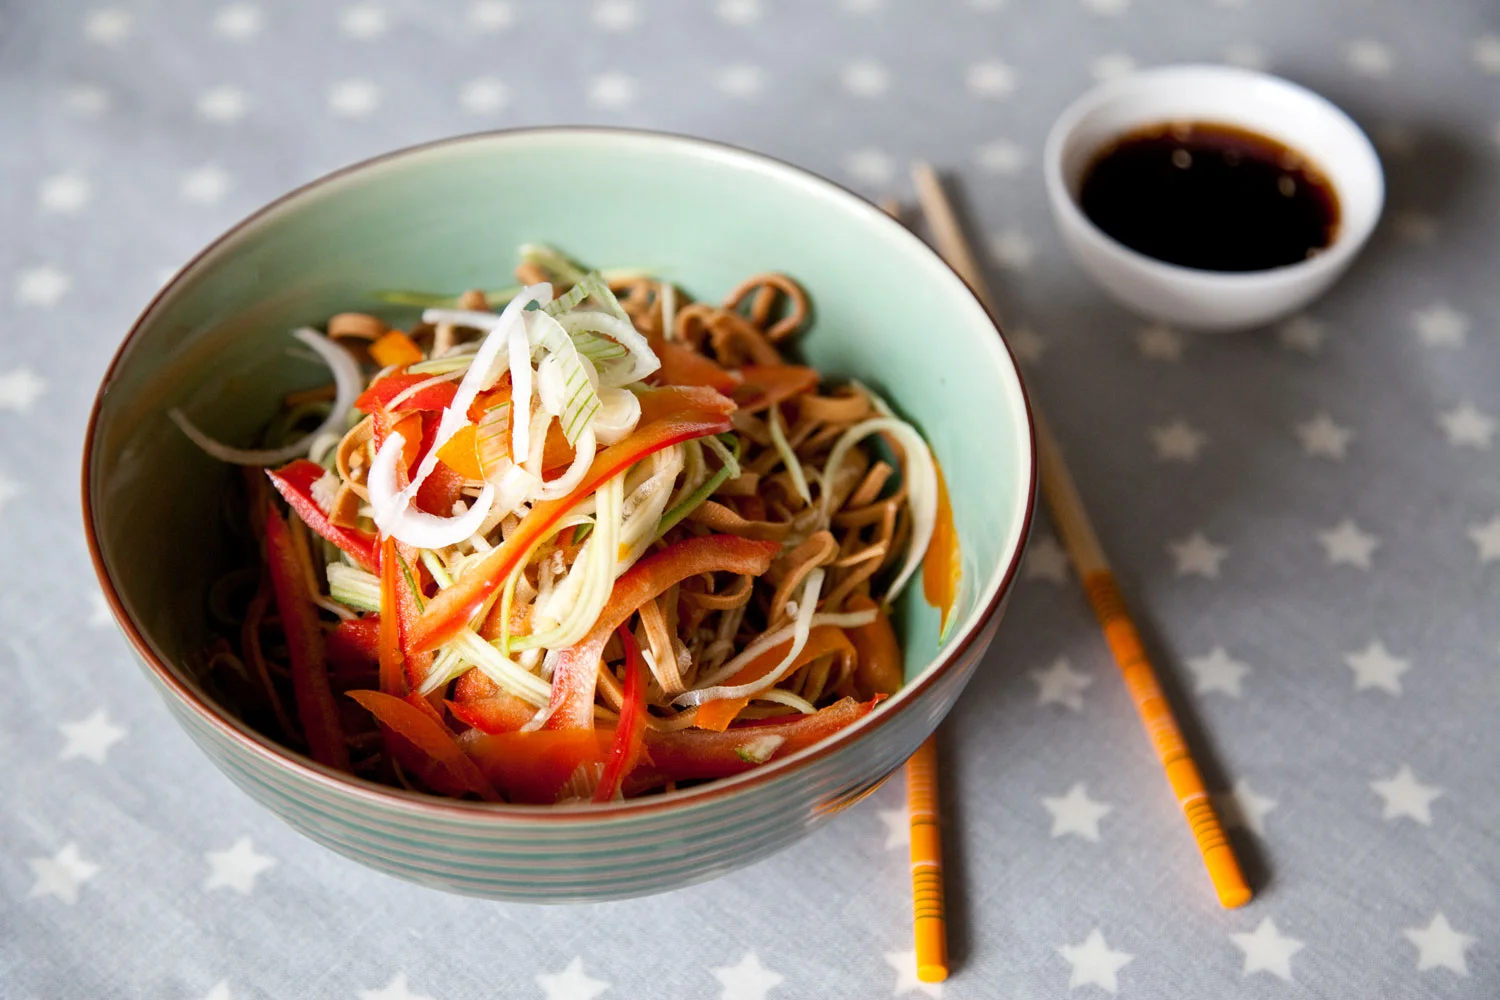
Summer Soba Noodles
INGREDIENTS//Serves 4
• 400 grams soba noodles
• 1/2 red pepper, raw and sliced finely
• 1/2 orange pepper, raw and julienned
• 2 zucchini, raw and julienned entire length (think zoodles!)
• 200 grams tofu strips
• 2 scallions, finely sliced
Homemade tsuyu sauce
• 1/2 cup kaeshi
• 3/4 cup dashi
PREPARATION
Rinse and wash well your pepper, zucchini, and scallions.
Cut your pepper in half and rinse out the seeds. Use a mandoline with just the blade (no teeth), slice finely your pepper. Place it in a bowl and set it aside.
Peel alternating slices of the zucchini skin off to give it some texture and color. Run it along a mandoline using the blade with the fine teeth blade lengthwise until you reach the seeds, then turn it and repeat. Discard the seeds. Place it in a bowl and set it aside.
Slice your scallion. Place it in a bowl and set it aside.
Sauce: Mix the two parts together and set it aside.
INSTRUCTIONS
Fill a large pot of water and bring it to boil.
Add the soba noodles following the instructions on the back of the package for cooking time.
Drain your noodles in a colander. Transfer it back into the pot with running cold water. Press the noodles down with your hand if they start coming up over the pot. Use your hands to separate the noodles and aid the rinsing process to wash away the starch. Drain the noodles again. Begin to separate and place them in the four serving bowls.
Add a handful of zoodles, peppers, and tofu strips.
Mix in your sauce and top it off with some scallion and sesame seeds.
NOTE
Tsuyu sauce can be found in most Asian stores. It is usually sold concentrated. Dilute it with water, just enough to keep its flavor but not so much that it tastes watered down.