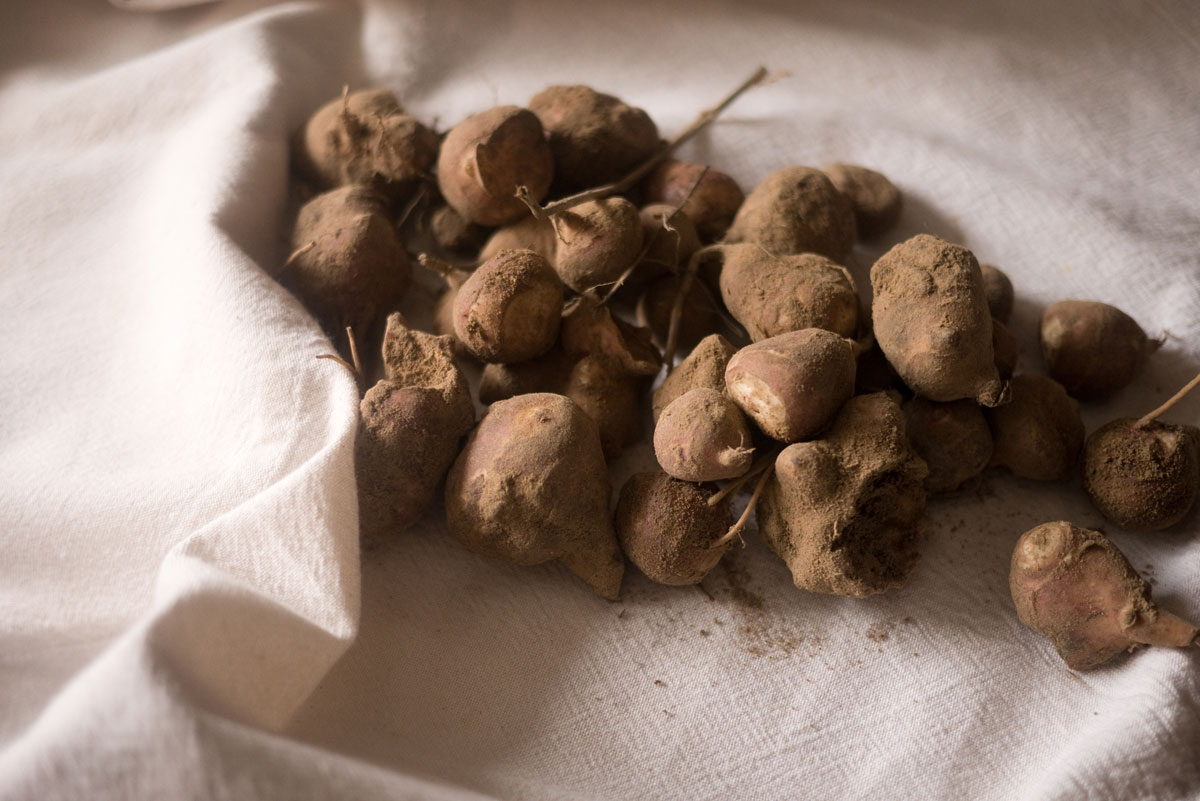
The parsnip seems to be a star vegetable this winter. It just had a portrait write-up about it in the French journal Libération with a soup recipe included by Alain Ducasse.
Parsnip is the je ne sais quoi in soups and it's what adds that special something to the stock of the pot-au-feu. In the ancient times, the Roman Emperor Tiberius imported this vegetable from Germania and it was used to strike the bell in the bell tower. In the Middle Ages, it was one of the vegetables cultivated by the monasteries. It was overshadowed by the growing popularity of the potatoes in the 18th century and has just finally made its comeback to the dining room table.
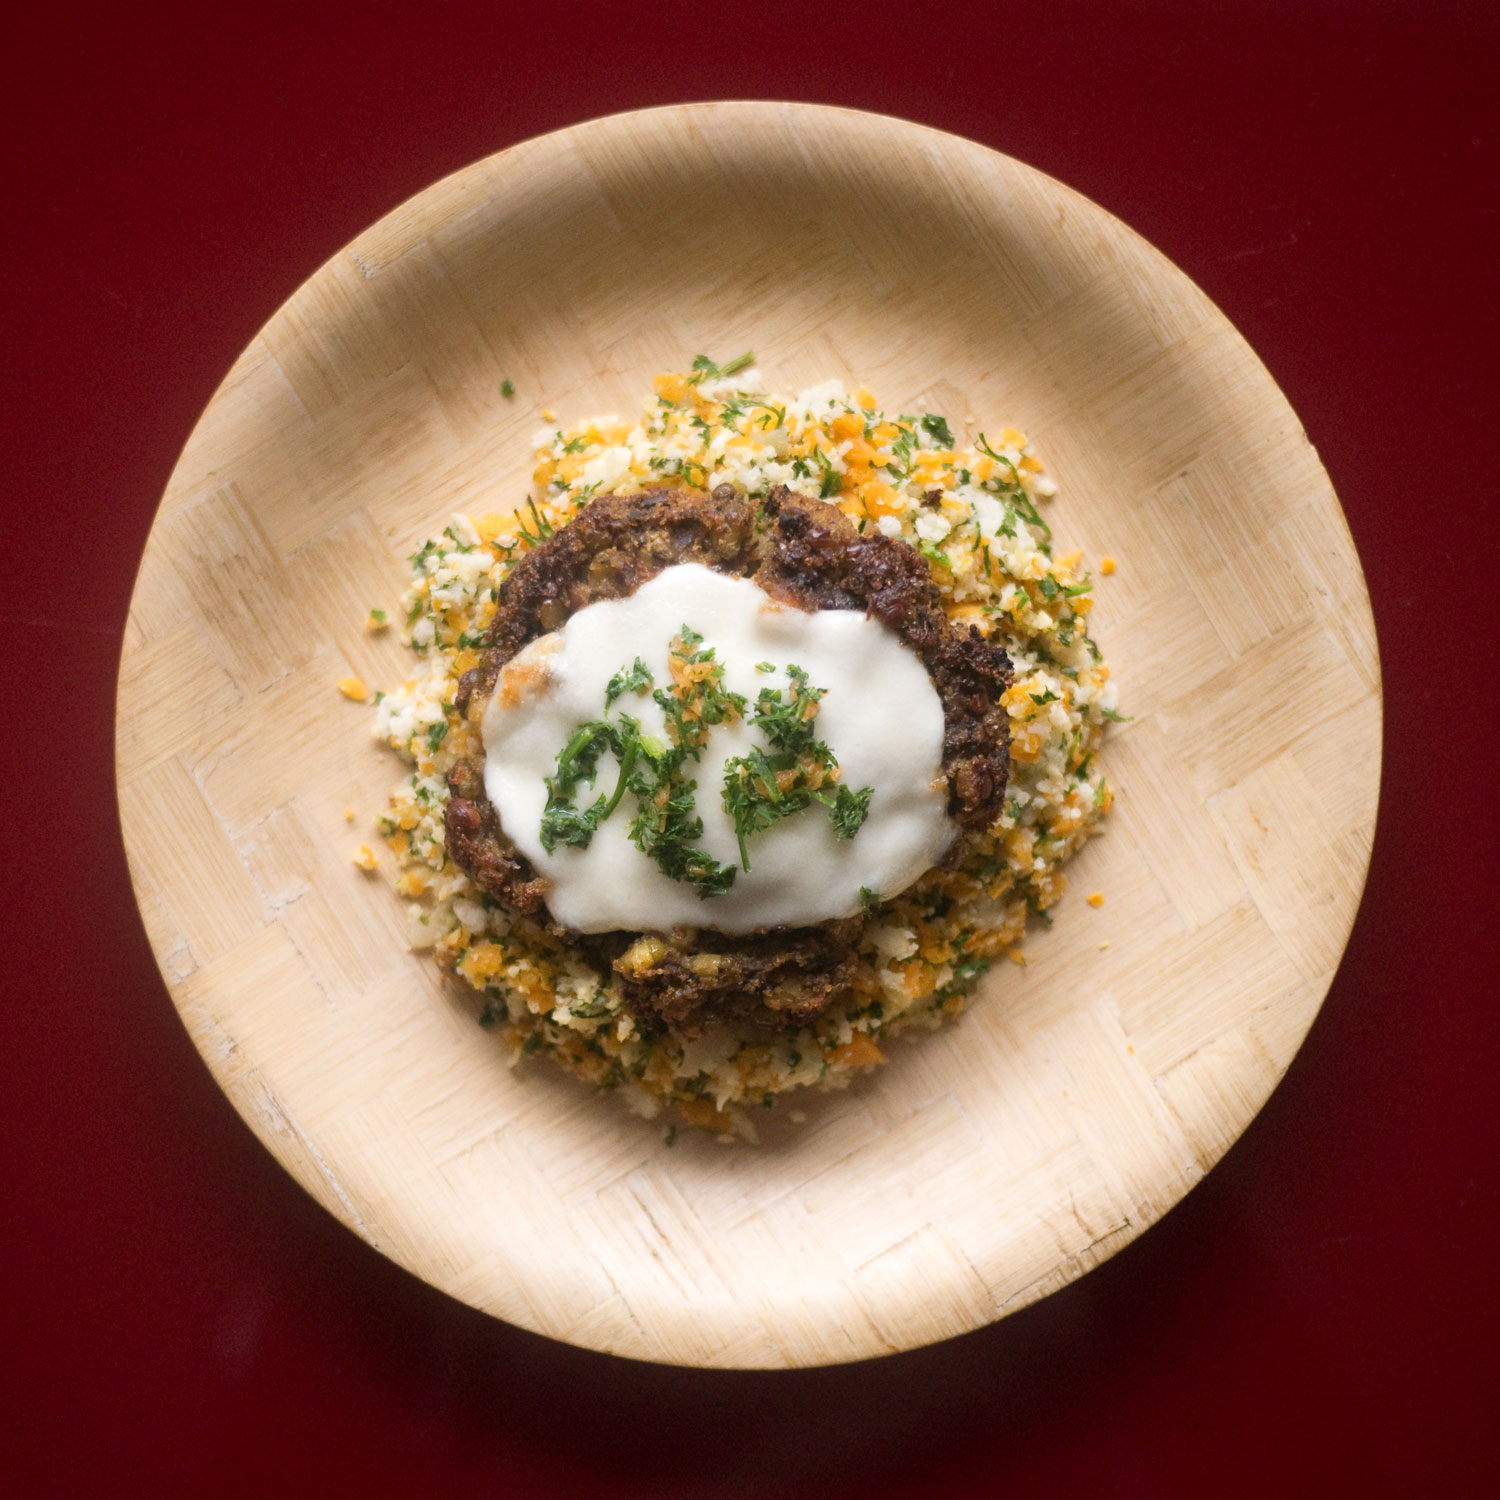
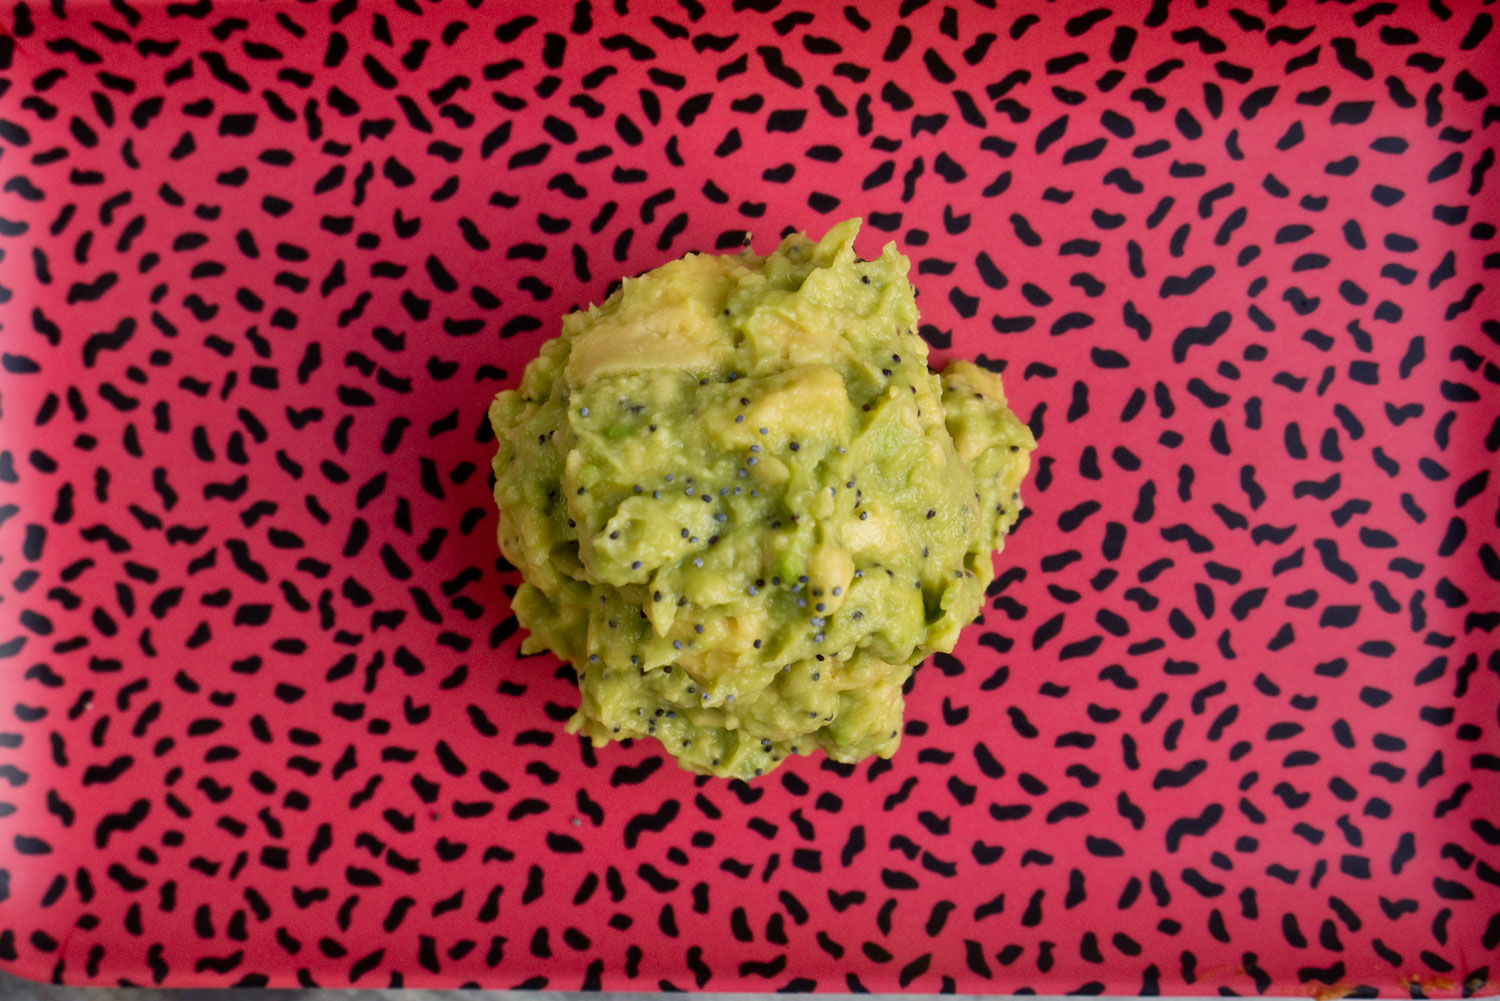
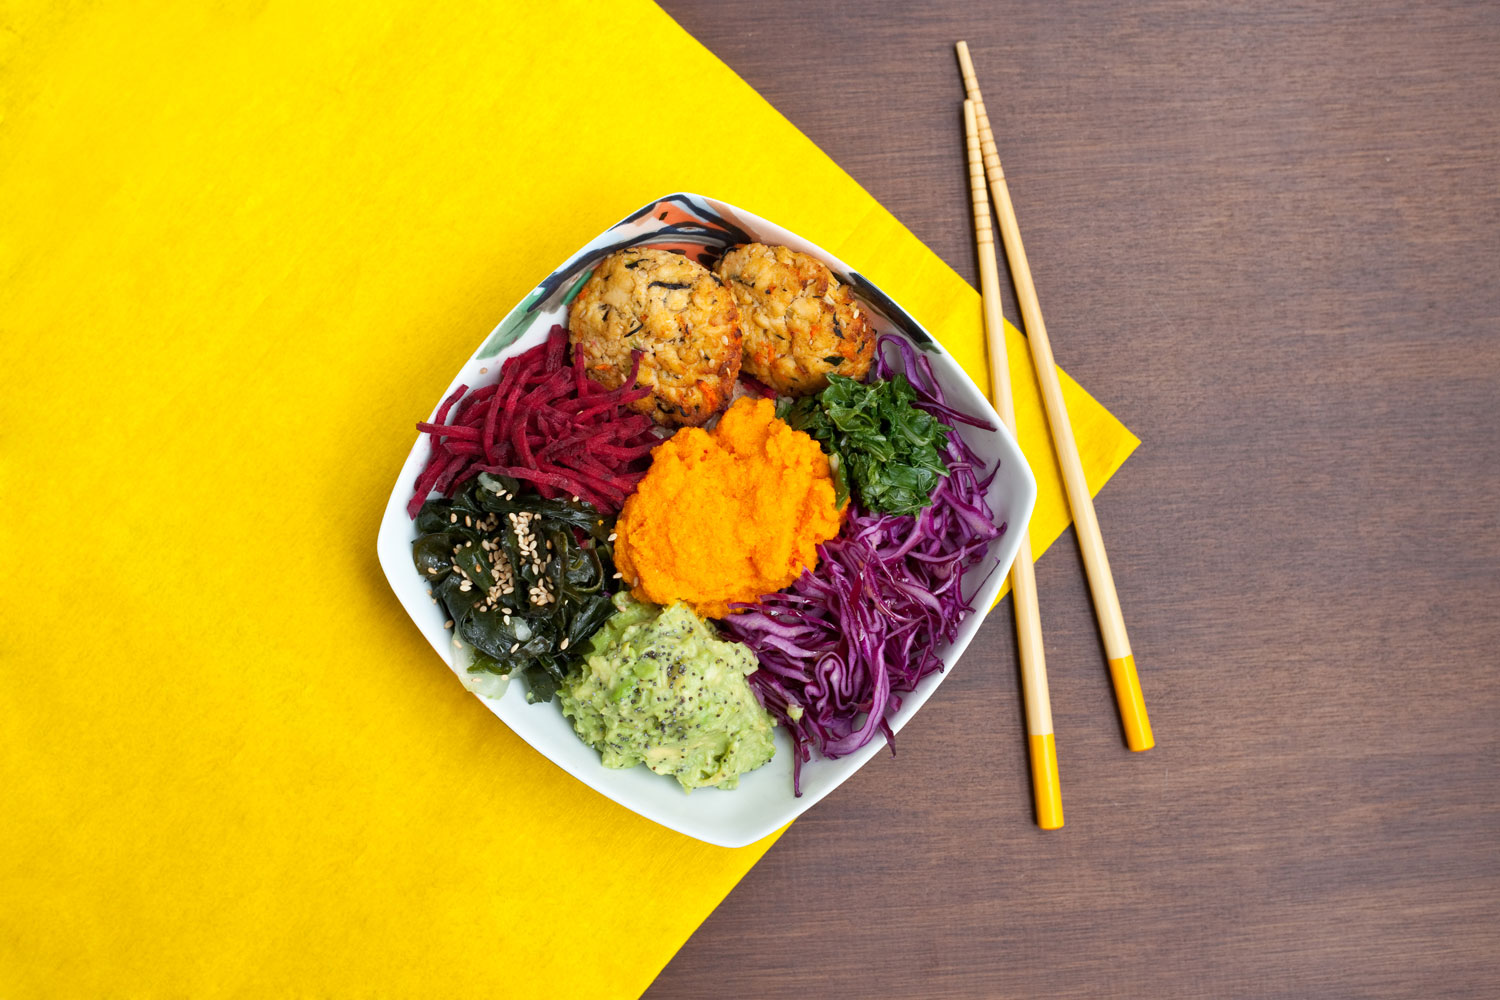
Cauliflower Parsnip Purée
INGREDIENTS//Serves 6
• 1 Parsnip, peeled and chopped
• 500 grams cauliflower, chopped
• 1 clove garlic, roasted
• 2 dollops crème fraîche
• 30 grams butter
• 1/2 bunch chives
INSTRUCTIONS
In a large pot of water add some coarse sea salt and the parsnip and bring it to a boil, then turn the heat down to simmer.
Cook for 15 minutes or until you can stab a fork through the parsnips.
Add the cauliflower and cook until tender.
Pour your parsnips and cauliflower into a colander and drain.
Transfer it to a large mixing bowl (if mashing by hand) otherwise transfer into a food processor.
Combine the rest of the ingredients, garlic and crème fraîche.
Mash with a fork or blend it all together in your food processor. Adjust accordingly with some coarse sea salt.
Garnish with some chopped chives.