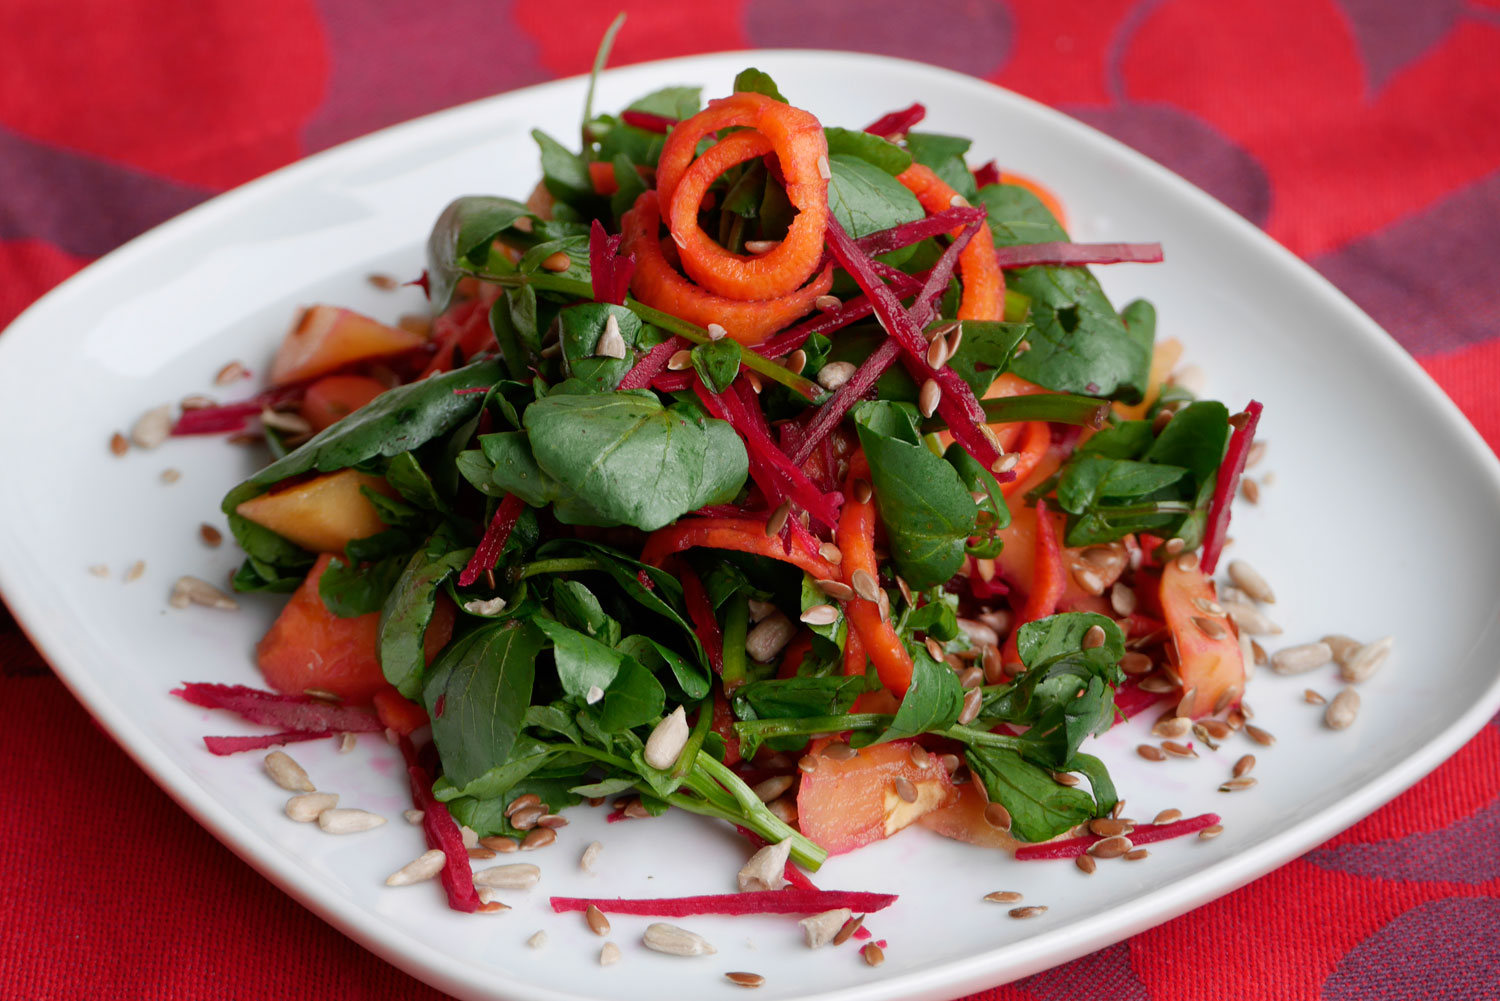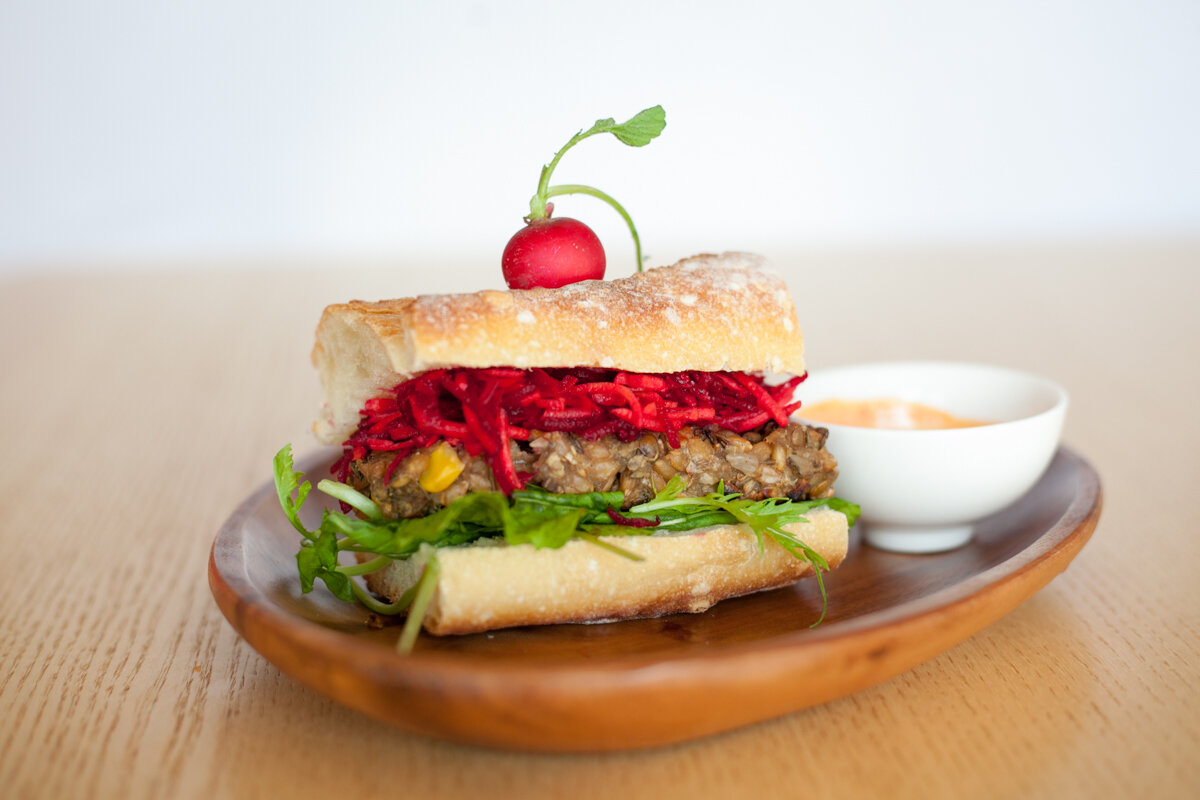
Lentil veggie patty with arugala, grated beets and carrots with a sriracha mayonnaise sauce sandwiched between a baguette.
A friend of mine called me up the other day asking if I had a good veggie burger recipe and I admitted to her that I didn’t. All my previous attempts left me unsatisfied and salivating for a memorable veggie burger that I last had in NYC. Back in my old days—the early 90’s— portobello mushrooms were the fab fungus about town, that’s what veggie burgers were made of. Restaurants could put these on their menu since it sold itself as an exotic and meaty-tasting mushroom and it was the perfect meat substitute to lure all the vegetarians and diet conscious crowd; turning it into the ultimate veggie burger by-product. It became so popular that it turned into a household staple and made it easy to host vegetarians at barbecues alongside the carnivores. Ah yes, there was the Boca Veggie Burger option too, a frozen soybean-based patty sold as a health alternative to the meat patty. Those were the days.
I miss those mushrooms, I don’t find them easily in Paris. Nowadays, veggie burgers are found everywhere and their main ingredient seems to be beans.
In my kitchen lab faced with the leftover lentils I ponder about the major issue I have with a poorly made veggie burger. For me, it’s the texture—no mushy patties please!
I decided to keep to a standard recipe which calls for any type of beans with lots of herbs and spices; seeds and nuts; and rice or quinoa.
It’s complicated these days to run about town in search of specific ingredients. I used whatever was in my pantry and that’s how I stumbled upon my secret ingredient, le petit épeautre (small spelt grain). I agree this is not something you would find easily in a supermarket nor a product that most of you would have on hand but it is easily found in a healthfood store. For me, this did the trick. It substituted the rice, quinoa, oats, the grain part of the recipe and it really was the best replacement I have used to give it that true grit. It adds a nutty and meaty heartiness to the veggie burgers made with beans. All of a sudden, my burgers were not so mushy anymore.

The secret ingredient, petit épeautre , which is a small spelt grain. Unfortunately, there is none left over to show you what they look like: it’s across between brown rice and barley in shape and color. I was lucky enough to find them in my pantry. I usually use this grain as a rice substitute for salads. It doesn’t get soggy.
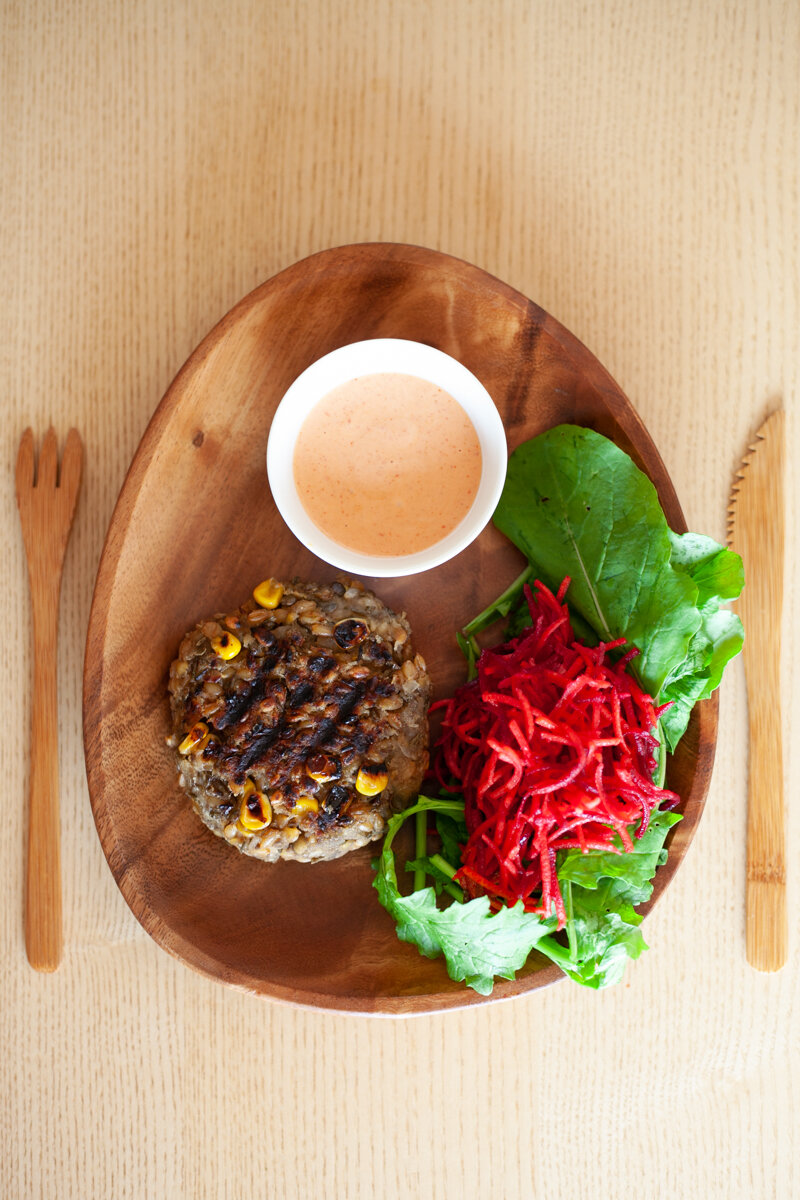
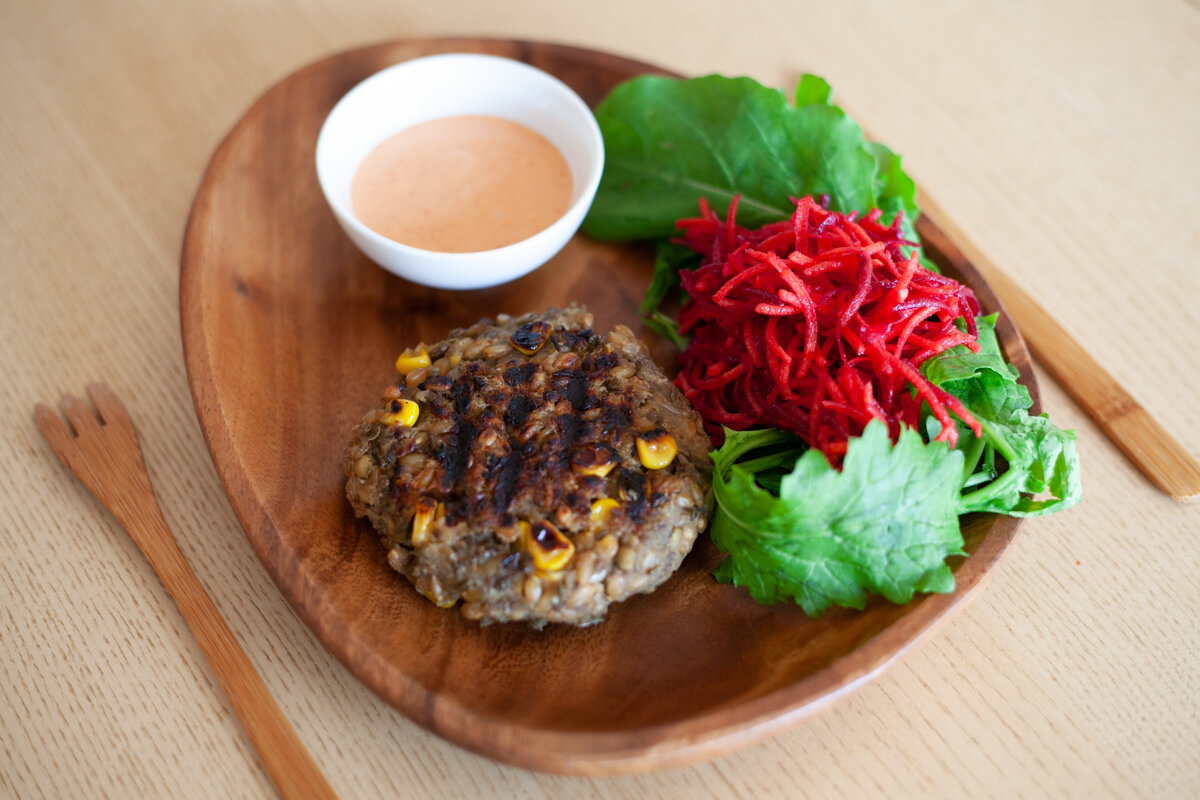
I also grilled the patties this time rather than just cooking them in a pan. Honestly I can’t tell you if it turns out the same way; we all enjoyed them so much grilled that I didn’t get a chance to cook them on a pan. I’ll let you know next time.

Lentil veggie burger topped with chedder cheese. Le Creuset grill is perfect for achieveing those charred grill marks.
And the sauce, don’t forget the sauce that goes with! Choose your own but this sriracha mayo one just really does it for me.
Lentil Veggie Burger
INGREDIENTS//Yields 8 medium size patties
• 500 grams lentils, cooked
• 1 cup of spelt grain
• 1 medium onion, diced and sautéed
• 150 grams corn, tinned
• 1 tablespoon Worcestershire sauce
• 1 teaspoon cumin powder
• 1/2 teaspoon chili powder
• 1/2 teaspoon paprika
• 80 grams of sunflower seed
• 1 tablespoon chia seed (optional)
• 150 grams panko, (Japanese bread crumb)
PREPARATION
Cook your cup of spelt grains like you would do with rice. Start with equal parts water and grain ( Add about a quarter cup more or water).
SAUCE
Sriracha Mayonnaise // Yields 1 cup
Mix one cup of mayonnaise with a tablespoon of sriracha sauce.
Grate a half clove of garlic (if no garlic is in your mayonnaise recipe) and squeeze some lemon juice or orange juice (anything citrusy and sweet)
Salt accordingly.
INSTRUCTIONS
Mash the lentils with the back of a fork in a large mixing bowl until you get a chunky purée.
Add the next 9 ingredients and stir: spelt grain, onion, corn, Worcestershire sauce, cumin, chili powder, paprika, sunflower seeds and chia seeds.
Finally, add the panko breadcrumbs to combine with the rest of the ingredients before starting to form your patties.
You can form eight medium size patties with your hand.
Heat up your grill (I use a a Le Creuset grill pan) and cook each side for approximately six minutes and when you see char marks.
NOTE
If you are using lentils or other beans from tins be sure to drain all the liquid out. Same for the corn. We want to make sure the patties are not too wet.
Chia seeds are optional but does help keep the patty together as it acts as a binder but I don’t mix it with water to get its gelatinous texture. I throw the seeds in direct as it will absorb any liquid from the lentils. The spelt grain, sunflower and chia seeds all add texture to the patty.